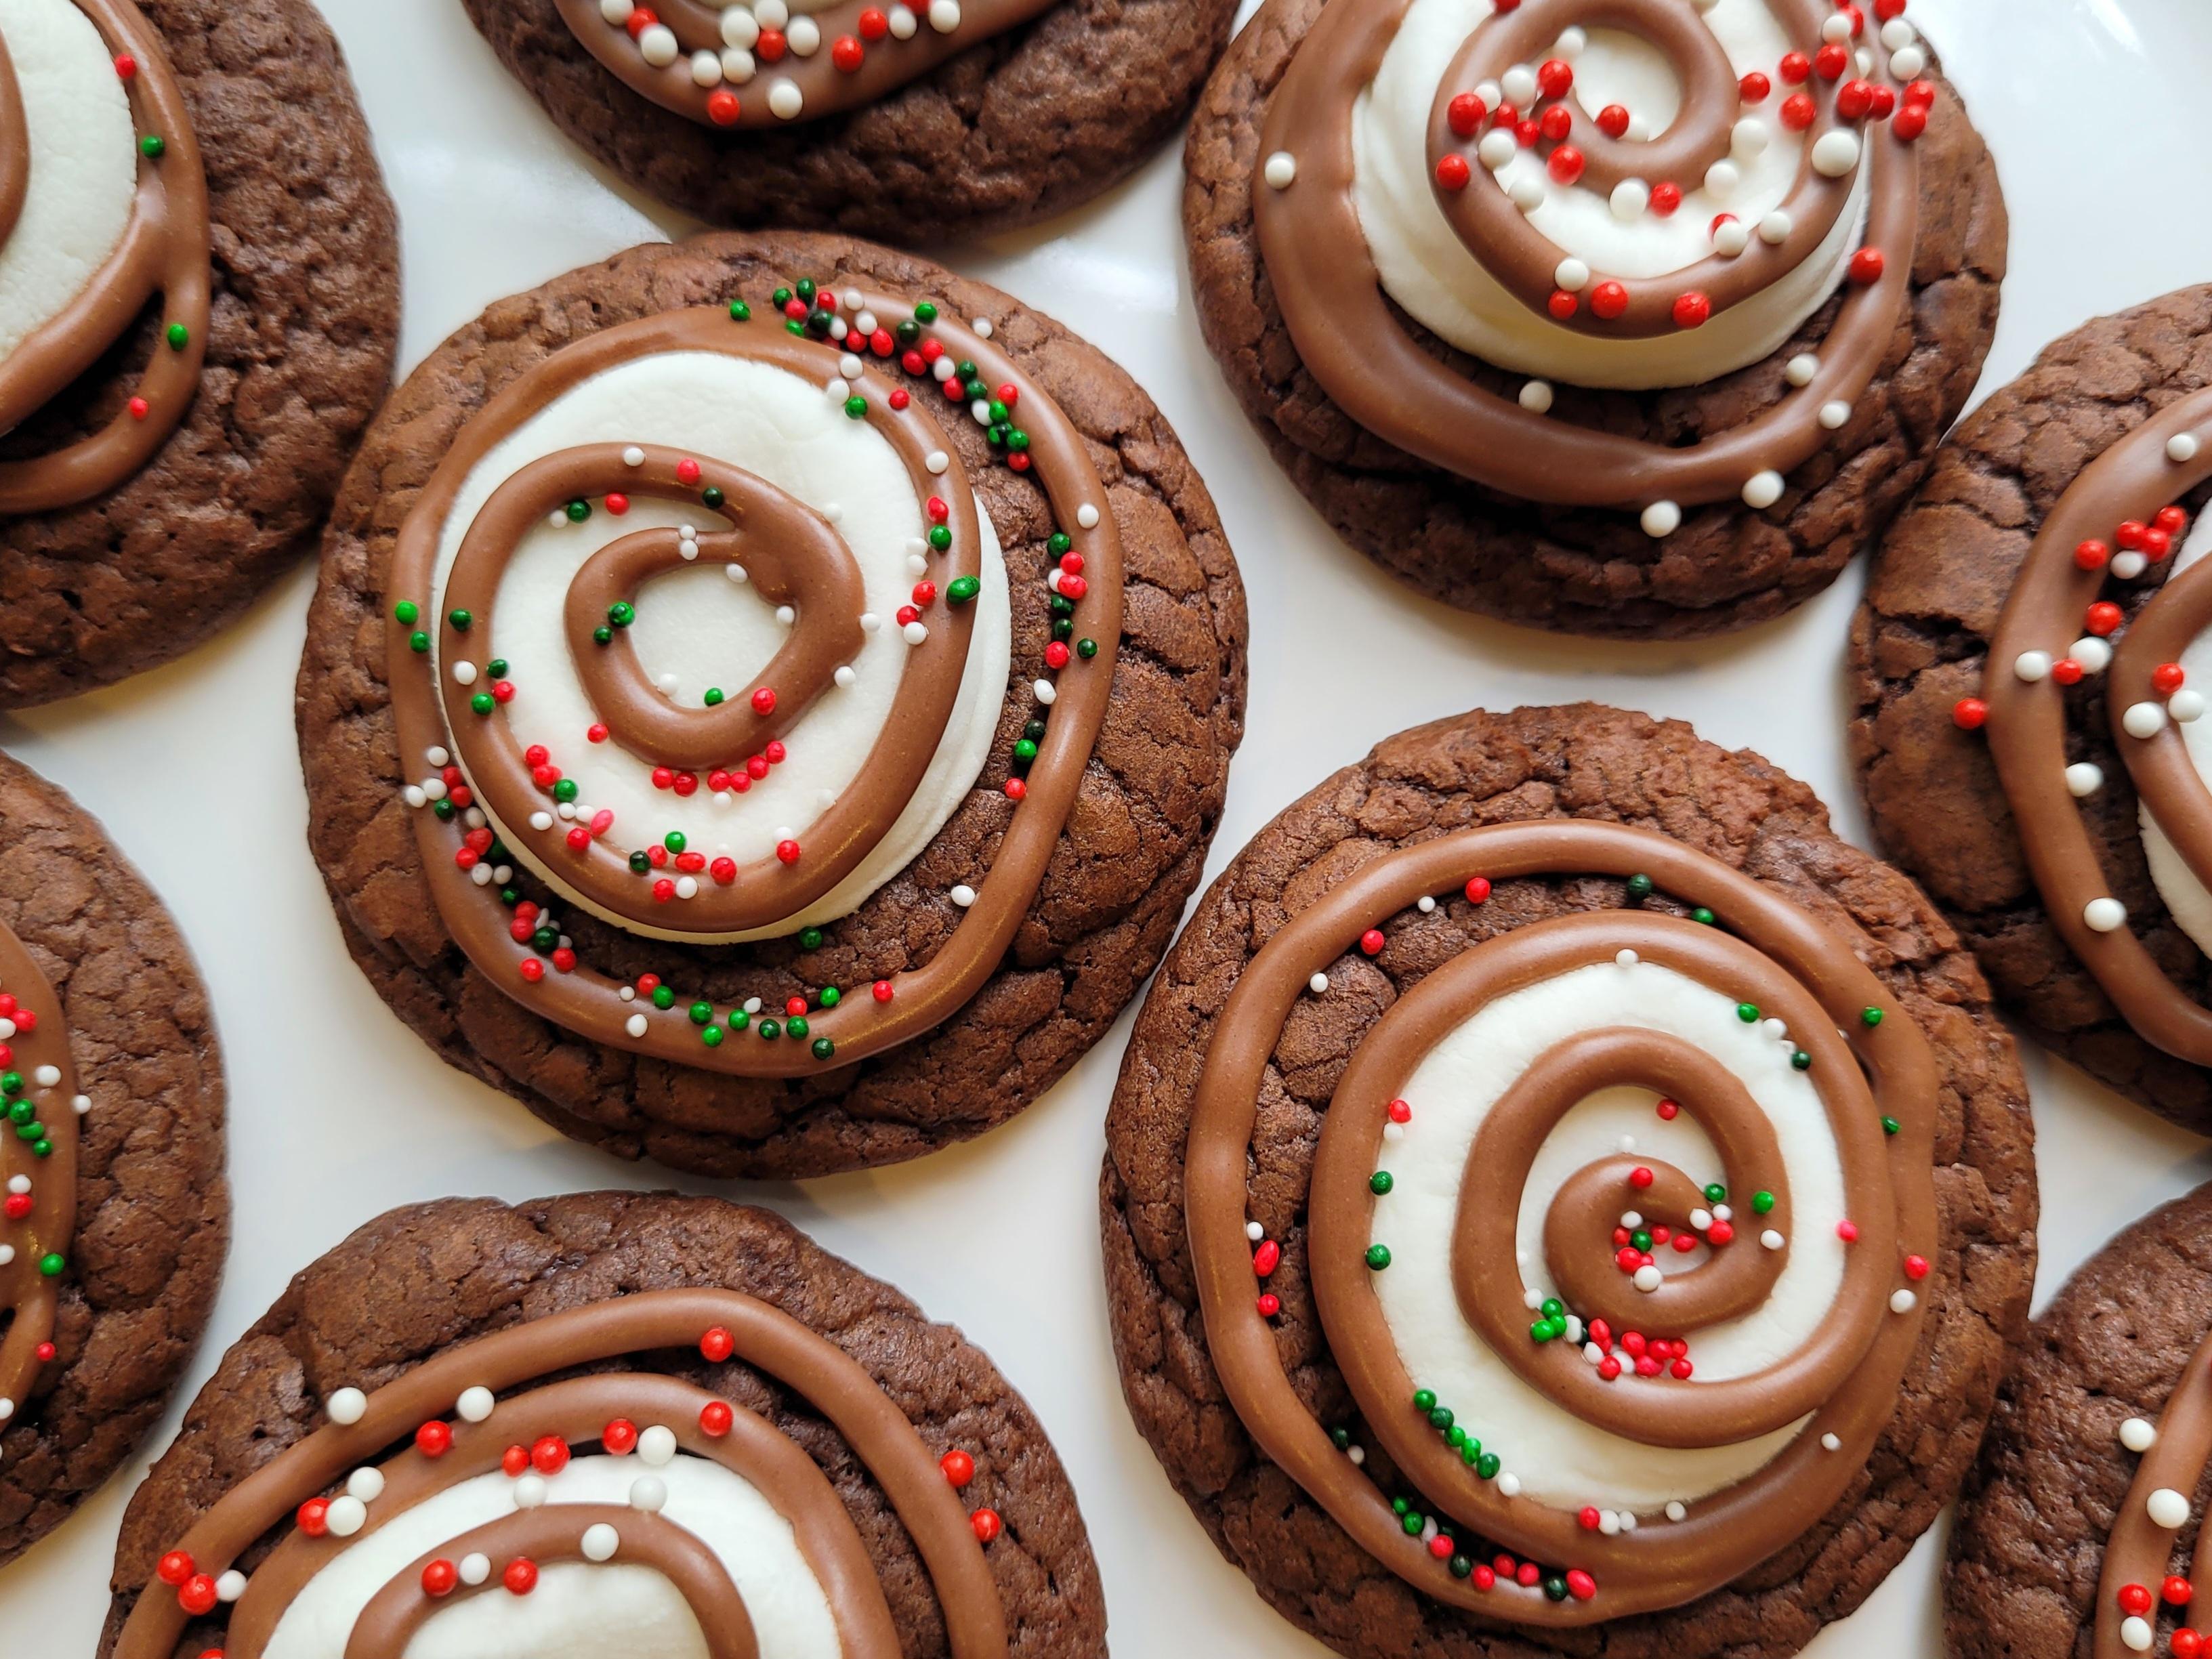
Gingerbread Men Cookies

These are so much fun to make and decorate, and the smell and taste of the spices is wonderful, especially during the holidays. The recipe doesn’t take much skill, either — just some patience while the dough chills so the cookies can better hold their shape. And after the cookies are baked comes the next fun part — decorating! My favorite royal icing recipe is below.

I made these for Christmas this year and gave some as presents. Of course, these can be made in any shape you like — try huge snowflakes, circles as Christmas ornaments, or triangles for Christmas trees (if you don’t have a tree cookie cutter). I had leftover dough, so I improvised the shape of a house with a paring knife.

Yield: A whole lot of cookies (depends on the size of your cookie cutters!)

6 cups sifted all-purpose (plain) flour
1 tsp. baking soda
1/2 tsp. baking powder
1 cup unsalted butter
1 cup packed dark brown sugar
4 tsp. ground ginger
4 tsp. ground cinnamon
1 1/2 tsp. ground cloves
1 tsp. white pepper
1 1/2 tsp. salt
2 large eggs
1 cup molasses (unsulfured)
Royal icing (see recipe below)

In a large bowl, sift together flour, baking soda, and baking powder. Set aside.

In an electric mixer fitted with the paddle attachment, cream butter and sugar until fluffy. Mix in spices and salt, then eggs and molasses. Add flour mixture and combine on low speed.

Divide dough into thirds and wrap in plastic. Chill for at least 1 hour.

After the dough has chilled, on a floured surface, roll out one of the dough portions until 1/8 inch thick. Cut into desired shapes and transfer to ungreased cookie sheets. Refrigerate until firm, about 15 minutes. Meanwhile, heat oven to 350F/175C degrees.

Bake the cookies until crisp but not darkened, 8-10 minutes. Transfer them to a baking rack to cool and repeat the process with the rest of the dough. When cookies are cool, decorate as desired.

I used flat sprinkles for the buttons. Mini M&Ms would be nice, too.


ROYAL ICING

2 cups confectioner’s (icing) sugar
1 Tbsp. unsalted butter, melted
2 tsp. light corn syrup
2 1/2 Tbsp. hot water, more if needed
Piping bag with narrow tip, or plastic bag

Mix all ingredients in a bowl with electric hand mixer on medium speed until well blended.

The icing should not be watery, so be careful when the water and only add a DROP or two until it’s the right consistency (a drop of water goes a long way when making icing). You want it to be stiff enough to go through a piping bag. Use a narrow tip on the piping bag or snip off a very small corner of a plastic bag. Scoop the icing inside the bag and enjoy the decorating!

(Icing recipe from a 1998 Christmas cookie recipe booklet from Williams-Sonoma.)

Halloween Cupcakes

Halloween is a great holiday for fun treats and desserts, with so many creative possibilities. (I made these Eyeball Cupcakes a few years ago.) This year, I decided to make a whole bunch of Halloween cupcakes all at once — I’ve had pictures of these in my binder for a long time and I just wanted to finally make them. Here are the designs and instructions. Note: You may find it easiest to use a cake mix for the cupcakes, because the decorations are the focus. Chocolate cupcakes made from a devil’s food cake mix hold up well.

MUMMY CUPCAKES

You will need:
Chocolate cupcakes
White fondant (use a gourmet brand for the best taste)
Something for the eyes (I used mini chocolate morsels. Mini brown M&Ms would be good, or you could use candy eyeballs.)

Roll out the fondant until about 1/8 thick. Best to do this on a surface covered in confectioner’s sugar (icing sugar). Use a knife or pizza cutter to cut thin ribbons, then lay pieces of the ribbon across the cupcake. Attach the eyes. They won’t stick very well on their own, so use a dab of water or even frosting to fix them in place.

PUMPKIN CUPCAKES

You will need:
Vanilla cupcakes
Buttercream frosting
Orange food coloring
Orange sanding sugar
Pretzel sticks

After coloring the frosting, spread a nicely shaped mound of it on top of the cupcake. Cover with sanding sugar and press it lightly so it adheres. With the tip of a knife, draw lines extending from the center. Insert a pretzel stick into the middle.

WITCHES’ CAULDRONS

You will need:
Chocolate cupcakes
Chocolate frosting
Vanilla pudding
Green food coloring
A mix of Halloween sprinkles
Pretzel sticks

Scoop out a portion in the middle of each cupcake. Don’t go too far down. Put the chocolate frosting around the hole and put a dab of it at the bottom of the hole (to help keep the pudding in place).

Make the vanilla pudding and color it green. Scoop it into the cupcake holes, then top with sprinkles. Insert a pretzel stick at an angle into the pudding. (If you’re not going to eat these right away, insert the pretzel sticks shortly before serving — otherwise they will get soggy.)

WHITE GHOST CUPCAKES

You will need:
Chocolate cupcakes
Chocolate frosting
White chocolate
Mini chocolate morsels

Line a baking sheet with parchment paper. Snip off a tiny corner of a plastic sandwich bag.

Melt white chocolate in the microwave (remove it as soon as it’s melted, or it will become too thick). Spoon it into the sandwich bag and pipe the outline of a ghost on the parchment, making one corner of the bottom of the ghost very long and narrow — this is what you will use to insert into the cupcakes. Fill in the outline with chocolate and smooth it out ever so gently with your finger or a knife. Quickly place two morsels on for eyes, then refrigerate until solid. Insert into frosted cupcakes.

M&M MONSTERS

You will need:
Any kind of cupcakes
Buttercream frosting
A variety of food coloring — try green, purple, and orange
Brown, green, and orange M&Ms
Candy eyeballs

Color the frosting in a variety of colors and spread on the cupcakes. Decorate with M&Ms and candy eyeballs. You can see I did random designs as well as faces.

Note: You should store these at room temperature or make them just before serving, as the M&Ms will get a frosty look after spending time in the refrigerator.

The main thing with all of these cupcakes is to HAVE FUN and be creative.

Happy Halloween!

Dark Chocolate Sugar Cookies

Cookies

For Halloween, I wanted to make some dark cut-out sugar cookies so I could decorate them with white icing that would stand out. I knew exactly what I wanted — flat cookies that I could roll out and cut into shapes. They needed to be very dark (it’s for Halloween, after all), not just kind of brown. I had cut out a picture of the ghost cookies a while ago (I forget the source) and wanted to copy them.

A search turned up this recipe from the American Butter Institute, of all places! (Something about their name seems very trustworthy for a cookie recipe.) The picture of these cookies on their site was beautiful. I’m glad I tried it — the cookies were delicious and just what I was looking for.

These would make nice chocolate wafer cookies if you roll them thin enough and watch them closely in the oven to make sure they don’t burn. They’re also just a nice twist on regular sugar cookie cut-outs. The institute’s site shows them in snowflake shapes, for example.

2 1/2 cups all-purpose flour
3/4 cup cocoa powder (dark, if possible)
1/2 tsp. salt
1 tsp. baking powder
1 cup (2 sticks) unsalted butter, room temperature
1 1/2 cups granulated sugar
2 large eggs
2 tsp. pure vanilla extract

In a large bowl, whisk together flour, cocoa powder, salt, and baking powder. Set aside.

In the bowl of a stand mixer, beat butter and sugar until light and fluffy. Add eggs and vanilla, beating well until combined. Add flour mixture and beat until dough is smooth.

Form dough into a disc, wrap in plastic wrap, and refrigerate one hour or until firm enough to roll.

Remove dough from refrigerator and, on a lightly floured surface, roll out to 1/4-inch thickness. (Tip: If the dough sticks to the rolling pin, don’t use flour to make it not stick — dust it with cocoa powder so the dough stays brown!) Use cookie cutters to cut desired shapes; transfer cookies to non-stick baking sheet or baking sheet lined with parchment paper. Return to refrigerator for another 10 minutes. Turn oven to 350F (175C) degrees.

Remove cookies from refrigerator and bake 12 minutes, or until firm around edges. Let cookies cool on baking sheet 5 minutes. Transfer to wire rack to cool completely.

FOR ICING: It’s easy! Put some confectioner’s sugar (icing sugar) in a small bowl. Add a few drops of water and mix with a spoon. Keep adding only a few drops at a time until it’s a good consistency for piping — you don’t want it too watery. If you’re not sure, then thicker is better than thinner. Spoon the icing into a plastic sandwich bag and snip off a very tiny corner. Then you can pipe it onto the cookies.

Chocolate-Dipped Marshmallows

Here’s a little treat that doesn’t take long to make. You can adapt it to any holiday with sprinkles, keep it plain, or try drizzling with icing or white chocolate. It’s a fun snack that would be great to set out at parties or nice to box up and give as a gift.

20181204_161032

All you need are large marshmallows and chocolate morsels — I used peppermint chocolate morsels — then sprinkles, icing, or white chocolate morsels.

Line a rimmed baking sheet with parchment paper (the baking sheet must be rimmed so sprinkles don’t roll away and make a mess when you decorate).

20181204_160454

In a bowl, melt a large handful of chocolate morsels in the microwave. Do it in 20- or 30-second intervals, stirring in between, to make sure all the chocolate is melted and none of it burns.

When chocolate is completely melted, you must work quickly. Take a large marshmallow and dip it into the chocolate, then set it on the parchment paper with the chocolate side up. Sprinkle it right away, then do the next one. Refrigerate once they’re all decorated so the chocolate hardens, then serve.

If drizzling with icing or white chocolate, let the first layer harden in the fridge before decorating. Melt the white chocolate as above.

20181205_164019

Halloween Eyeball Cupcakes

20181030_153916
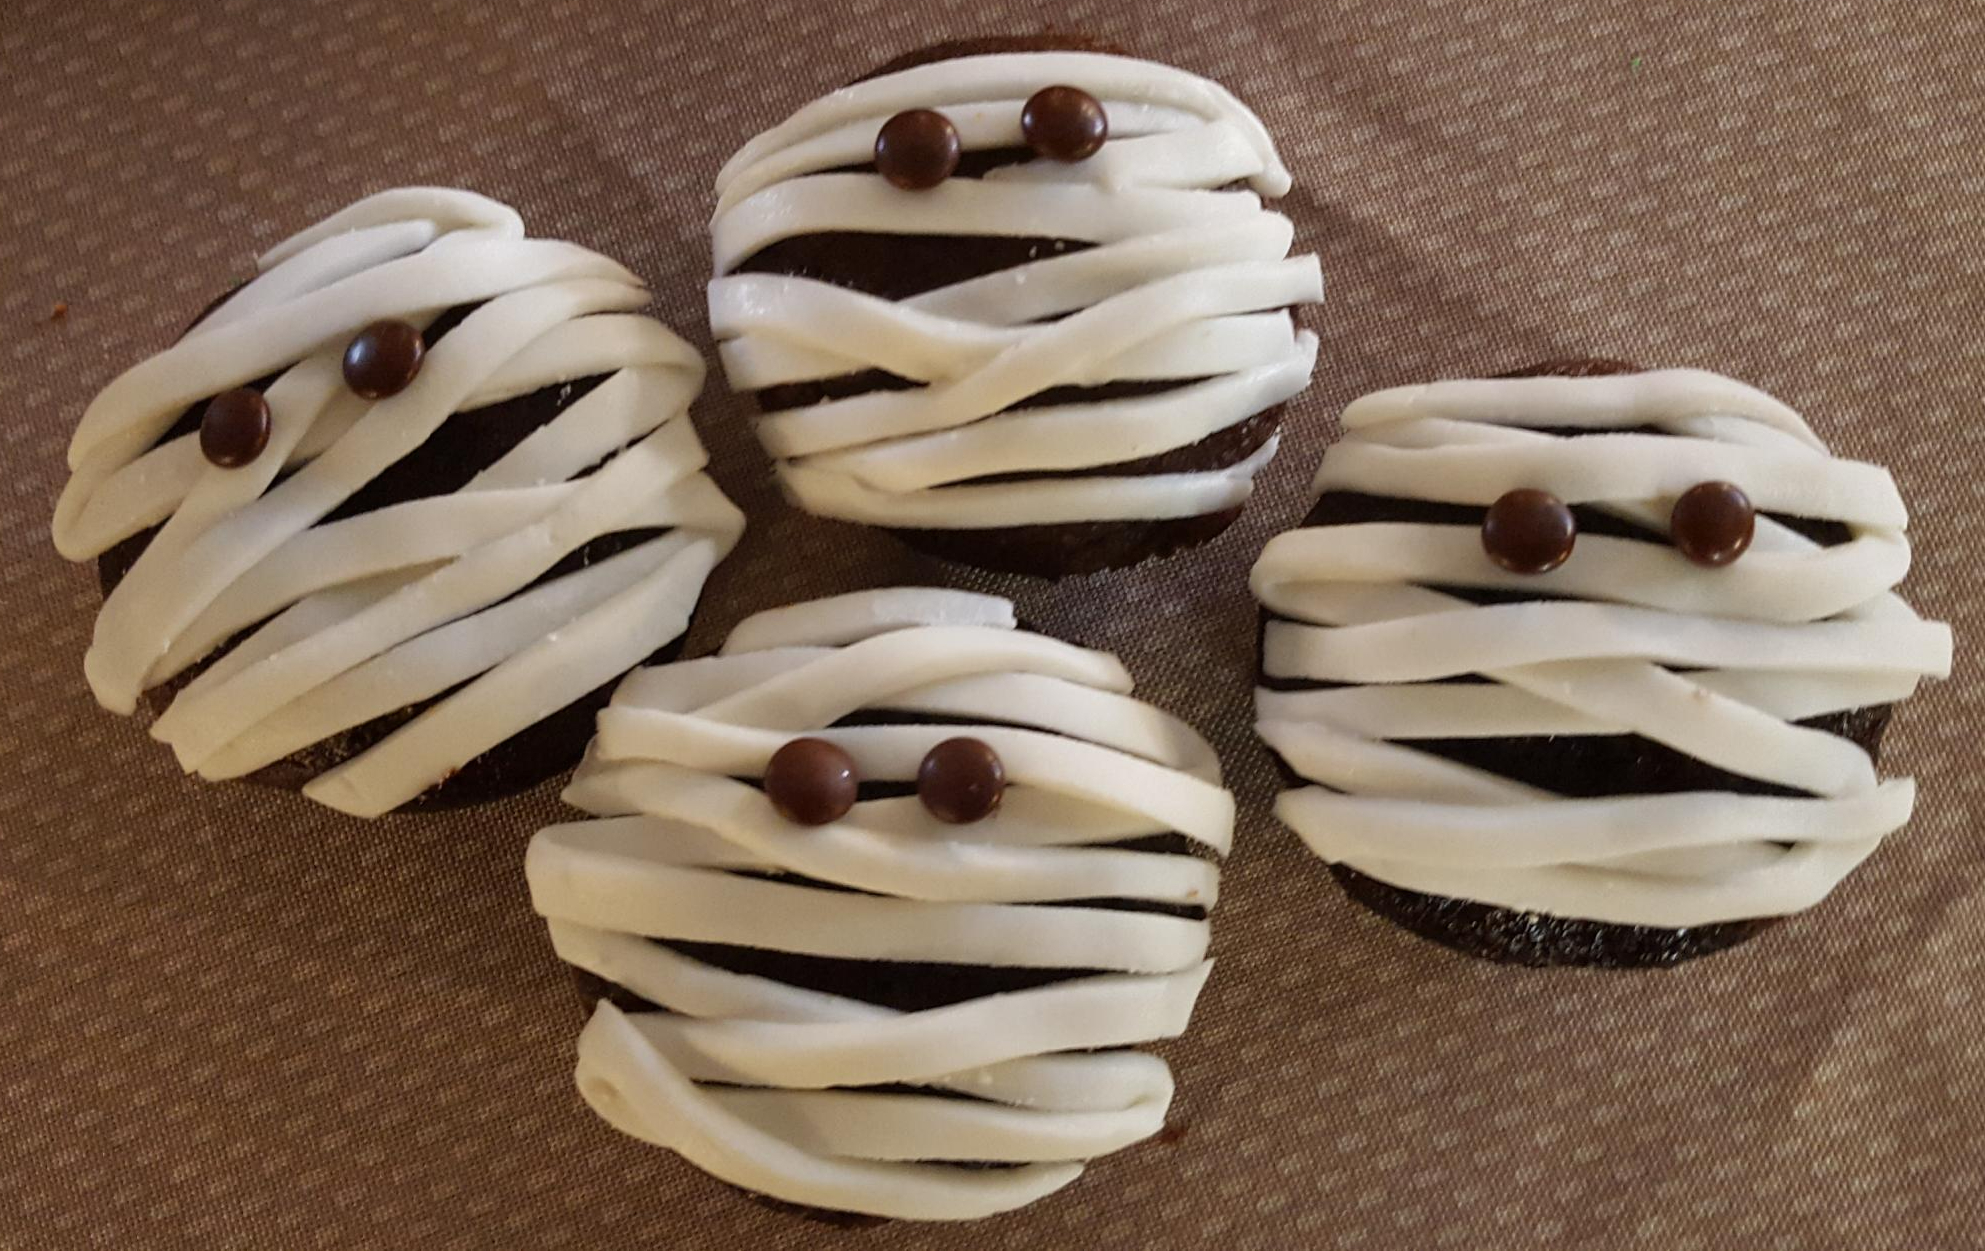
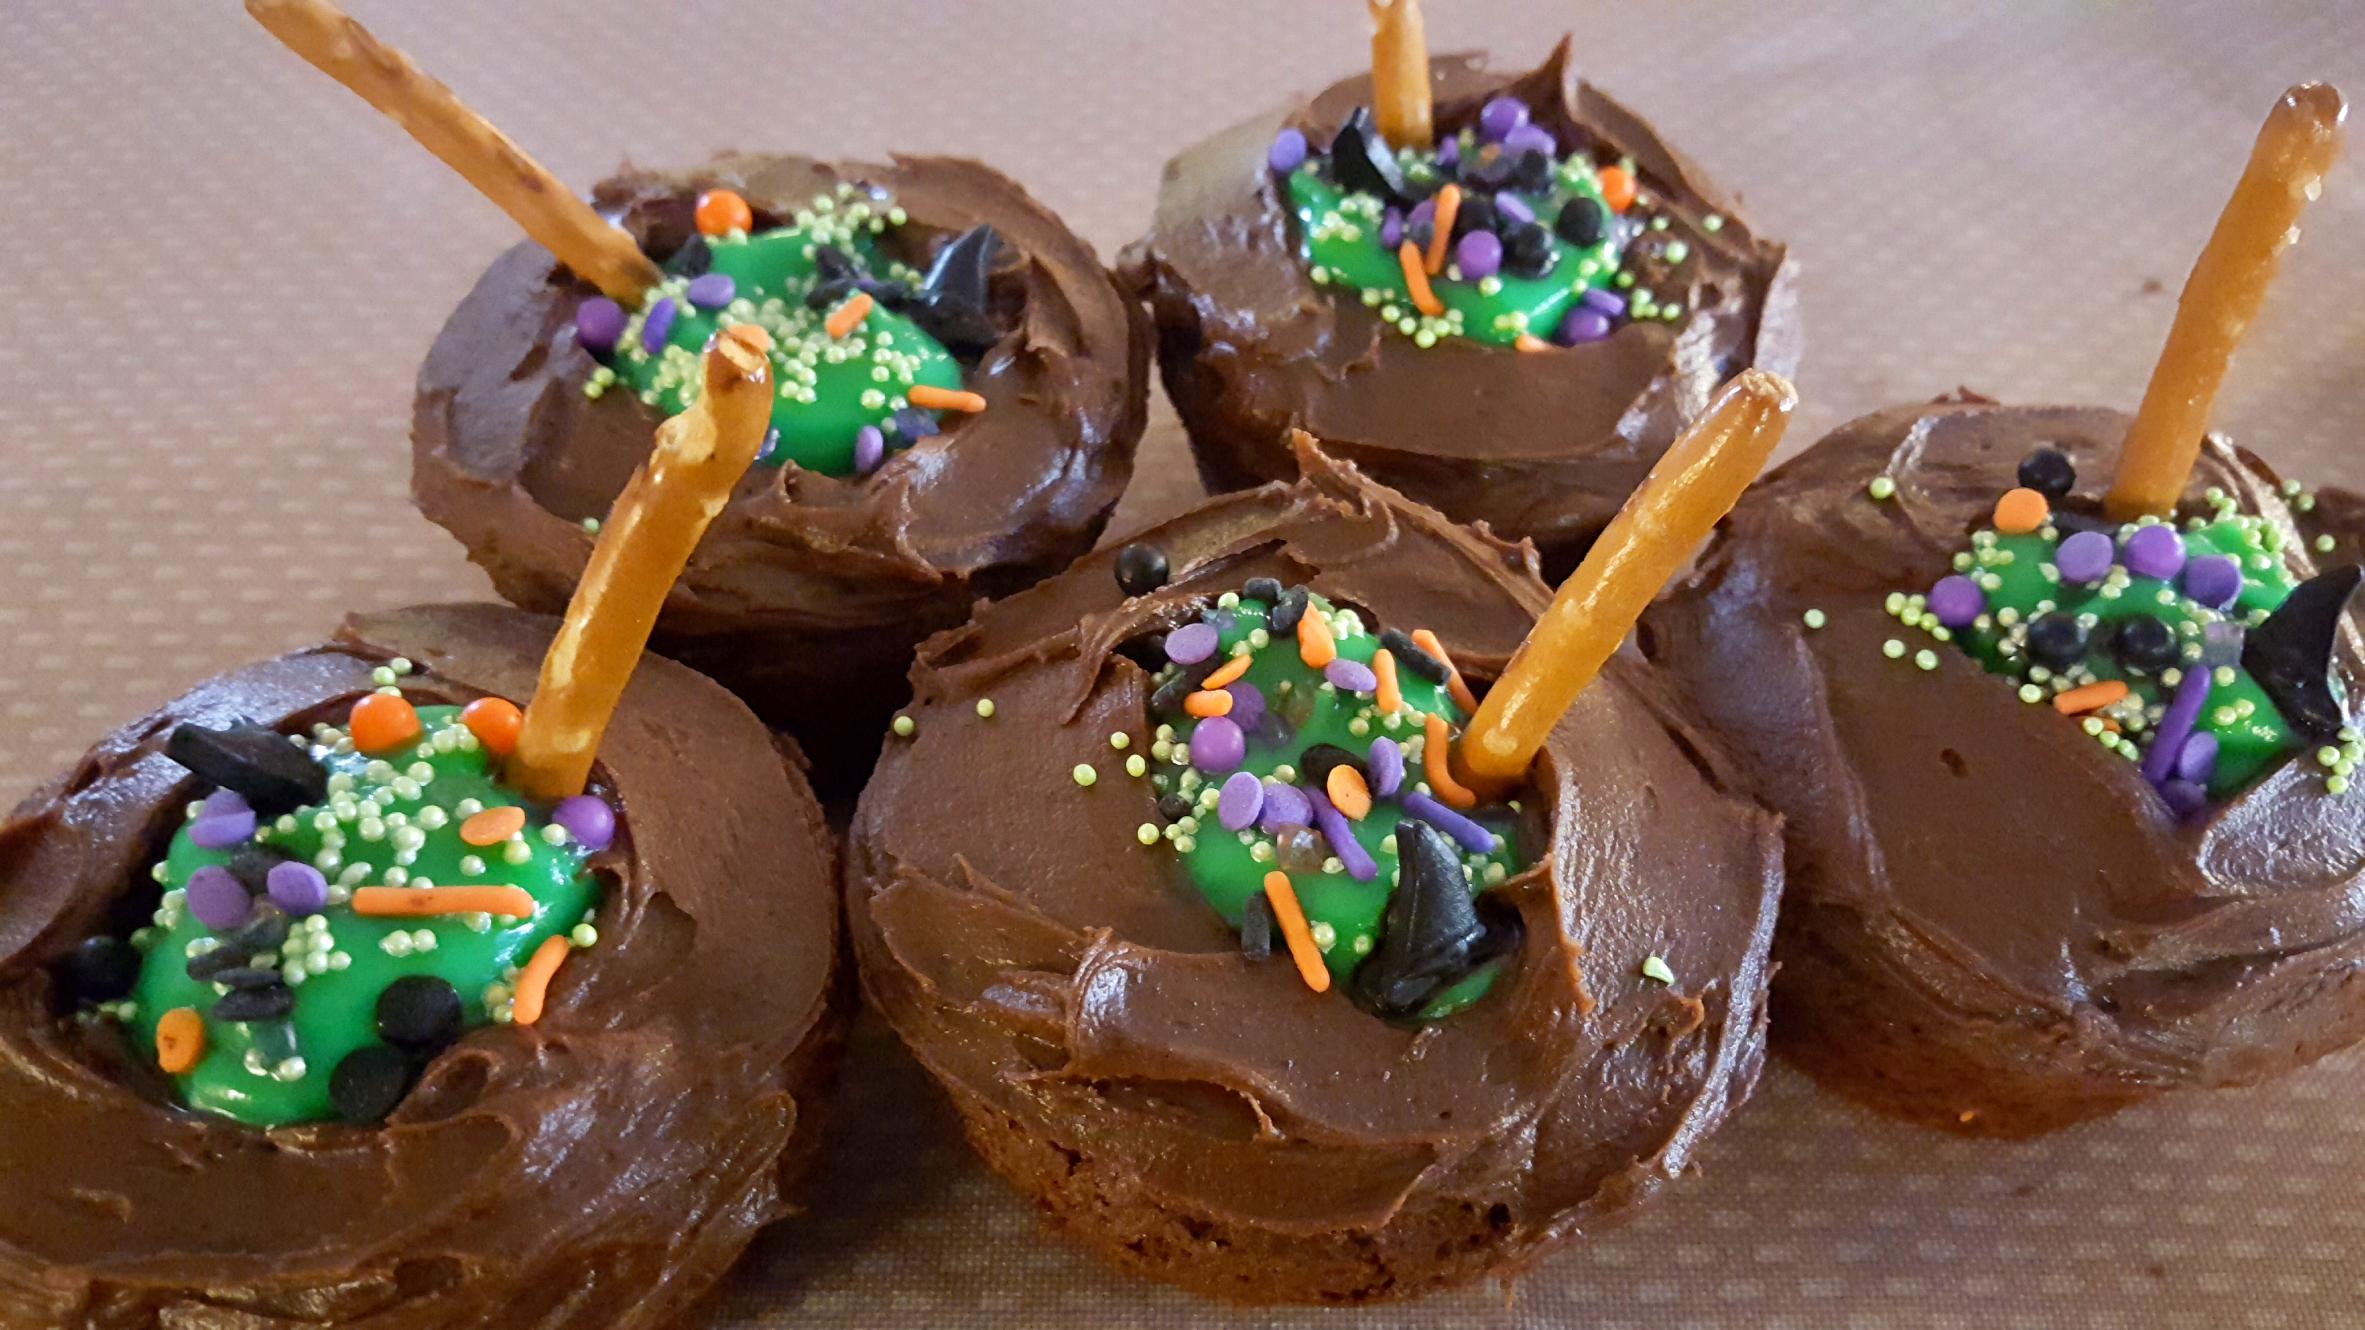
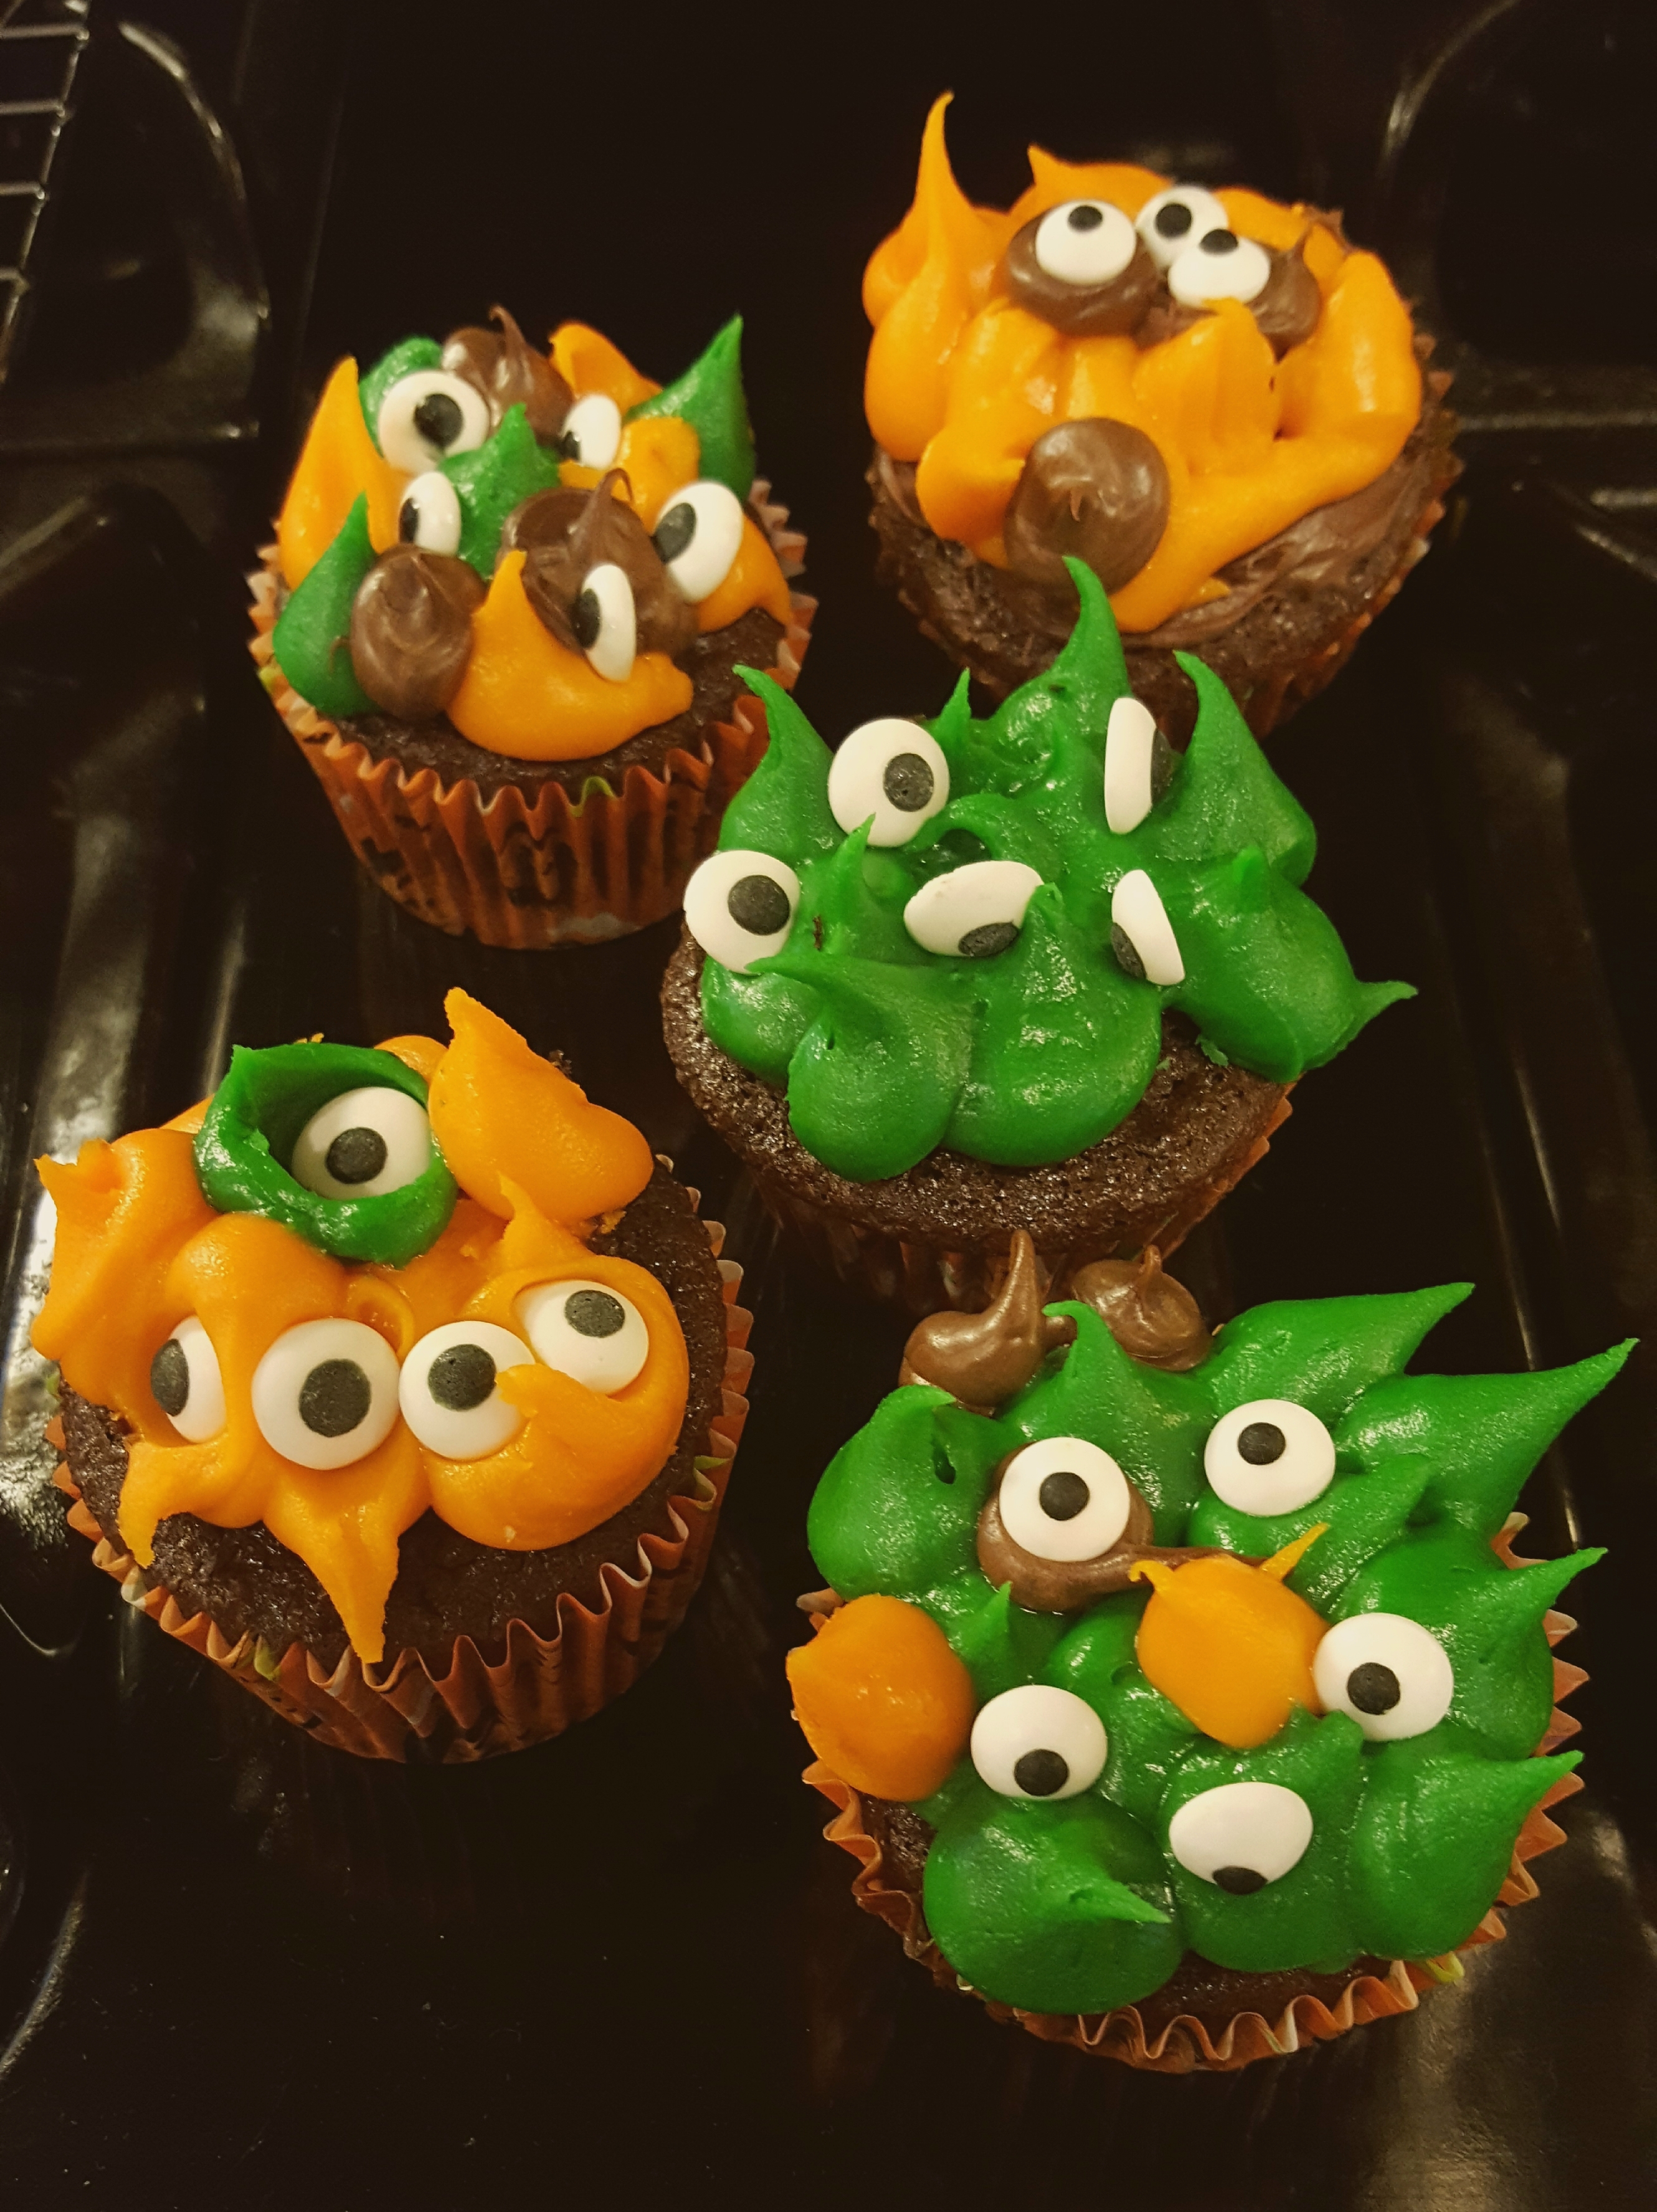
1. Bake some chocolate cupcakes with cupcake liners.
2. Prepare a thick buttercream frosting and tint it with Halloween colors like purple, orange, green, and brown.
3. Pipe spikes all over the top of the cupcake. (Squirt a small blob and bring the tip of the frosting bag straight back up.)
4. Put candy eyes randomly between the spikes.

As you can see, we didn’t just do spikes — we had fun making crazy monster faces. This is one Halloween treat that doesn’t require a specific shape or design, so just use your imagination!

Cookie Frosting

20170703_165159

Adapt the decoration on your cookies, or the color of the frosting, for any holiday.

This creamy frosting is a fun, easy way to decorate cookies. It’s not as fancy or sophisticated as icing, which is smooth and glossier, but it’s simple and yummy, and decorations like sprinkles stick to it easily. It’s especially perfect for spreading on sugar cookies.

I got this recipe years ago from a Williams-Sonoma booklet on making Christmas cookies. I keep that booklet in the front pocket of my dessert recipe binder and refer to it often when making any kind of cookie that needs decorating.

This makes about 3/4 cup, or enough to frost 2 dozen regular cookies (about 2 1/2 inches in diameter).

With the brown vanilla extract, the frosting comes out an off-white color. Try a clear extract if you want it pure white, maybe playing around with some flavors of extract to see how it turns out. This can also easily be tinted with food coloring.

2 cups confectioner’s sugar (powdered or icing sugar)
2 Tbsp. unsalted butter, melted
1 tsp. vanilla extract
2 Tbsp. heavy cream
Food coloring, if desired

Sift the confectioner’s sugar into a large bowl about 1/2 cup at a time. Add the melted butter, vanilla, and cream. Using an electric hand mixer, beat on medium speed until creamy and spreadable.

Rainbow Birthday Cake

rainbow birthday cake
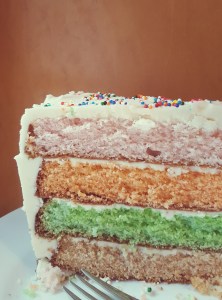
Here’s a way to dress up a white cake for special occasions. The layers are colored and the frosting is white, so when slices are cut it’s the inside that stands out.

I was inspired by a picture I clipped from a magazine ages ago that showed four layers in graduating shades of blue. There was no recipe, if I recall — just the picture. But it was easy to copy using my existing recipes for white cake and buttercream frosting.

My son requested this cake for his birthday with four layers, each in one of our favorite colors. That was orange, green, red, and pink. I can foresee making this on holidays — shades of red and pink for Valentine’s Day, pastel colors for Easter, or red, white, and blue (maybe with another layer of white containing sprinkles?) for Independence Day.

The white cake recipe above yields two 9-inch round layers. I made the recipe twice to get four layers. Each time I made the recipe, I divided the batter evenly into two large measuring cups and tinted them with gel colors before pouring into the baking pans.

I also doubled the buttercream frosting recipe above.

Now, you’ll see from the picture that the cake is missing the red layer my son requested and has a brown one instead. That one counts as a lesson learned. I decided to use some red beet powder as a natural red food coloring — I had used it before to tint frosting — but this time, the cake turned out the color of whole wheat bread. I looked it up and it seems that the baking process, and maybe a reaction to the baking powder, turned the red beet powder brown. Oh, well. I know for next time.

A note on the frosting: For this cake, you want the colored layers to stand out, so you shouldn’t put a lot of frosting between them. Put just a small amount to act as a glue to hold the layers in place. The thin ribbon of white you’ll see between each layer when you cut the cake is also just enough to show off the colors.

Hard-boiled Eggs

There isn’t much to say about this recipe, but it’s a basic one that ought to be in your cookbook somewhere. I’ve been making more of these lately so we can dye them for Easter eggs.

1. Wash eggs to be hard-cooked in warm soap and water.

2. Place eggs in a single layer in an enamel, glass, or steel pan.

3. Add enough tap water to come at least 1 inch above the eggs.

4. Cover the pan and rapidly bring the water to a boil. Then turn off the heat. If you’re using an electric range, take the pan off the burner.

5. Leave the cover on the pan. Let large eggs sit for 15-17 minutes; medium eggs about 3 minutes less; extra-large about 3 minutes more.

20170405_115302

6. Heat retained in the water will continue to cook them, so remove eggs with a slotted spoon and transfer to a bowl of ice water. Cooling helps prevent the green rings that sometimes form around the yolks.

20170405_115402

Notes:
Don’t worry if the eggs crack a little during boiling, because they are still cooked and perfectly edible. If you dye them, part of the egg underneath the shell will be colored, but since most egg dyes are food-safe it won’t matter.

To eat them, tap the eggs gently on a hard surface to make cracks, then gently peel off the shell.

Slice or cut them into chunks, sprinkled with a little salt. Chop them for an egg salad sandwich or crumble them for a salad. Or make them into deviled eggs — see my recipe here.

Holiday Cornflake Wreaths

20141211_220232[1]These are like Rice Krispie Treats, only with cornflakes. They are a fun dessert to make at Christmastime, and very easy, too. Plus, they have only five ingredients.

Makes about 18

6 cups cornflakes
1/2 cup (1 stick) margarine
10 oz. marshmallows
1 tsp. or more green food coloring
Small red cinnamon candies (Red Hots)*

To prepare, butter two or three baking sheets — you will form the wreaths on them later. Put the cornflakes in a large bowl.

In a medium pot over low heat, melt the margarine. Add the marshmallows and stir constantly until completely melted. Add the food coloring, starting with 1 tsp. but adding more as necessary until the mixture is dark green. (The ones in the picture above aren’t as dark as I intended.) Pour the marshmallow mixture over the cornflakes and mix carefully with a spoon until completely coated.

With buttered fingers, take out a small handful of the coated cornflakes (just enough to fill your palm). Put it on the buttered baking sheet and form into a wreath. Put four or five cinnamon candies on the wreath to look like berries.

Refrigerate the wreaths for several hours before serving. Use a spatula carefully to lift them off the baking sheets.

*I found the Red Hots in the baking aisle, next to the bottles of sprinkles — not in the candy aisle.

Flourless Chocolate Cake

This cake turned out to be a big success — a straightforward recipe with delicious results and a rich chocolate flavor. As you can see, it was designed for Easter. The top ridge of the cake caves in, creating a base for a whipped topping that looks like a nest. Lay some candy eggs on top and you’ve got much more than a flourless chocolate cake — you have an Easter Egg Nest Cake.

This was a Nigella Lawson recipe I clipped from The New York Times eight years ago. I don’t tend to have a lot of luck with her recipes, but as I suspected, the recipe’s appearance in the Times meant it was a winner. I hope you have similar results.

Yield: 1 9-inch cake

For the cake:
8 Tbsp. unsalted butter, softened
8 oz. semi-sweet baking chocolate, melted
6 large eggs: 2 whole, 4 separated
1/2 cup plus 1/3 cup sugar
1 tsp. vanilla extract

For the topping:
1 cup heavy cream
1 tsp. vanilla extract
4 oz. semi-sweet baking chocolate, melted and cooled
Approximately 1 cup small candy eggs, like robin’s eggs

1. Heat oven to 350F degrees. Line the bottom of a 9-inch springform pan with parchment paper, then grease the top of the paper.

2. For the cake, stir the softened butter into the just-melted chocolate and let cool. Whisk 4 egg whites until foamy (this is best done in a stand mixer). Gradually add 1/2 cup sugar and whisk until whites hold their shape but are not too stiff. Reserve.

3. In a separate bowl, by hand, whisk 2 whole eggs and 4 egg yolks with 1/3 cup of sugar and vanilla until combined. Stir in chocolate to mix.

4. In three additions, fold whites into chocolate mixture*. Pour into prepared pan and bake for 35 to 40 minutes, or until cake rises, cracks, and center is no longer wobbly.

5. Cool cake on a wire rack; the middle will sink and the sides will crack. Carefully remove cake from pan and place on serving plate.

6. For topping, whip cream with vanilla until it is firm but not stiff. Fold in melted chocolate. Fill top of cake with whipped topping, easing it out gently toward the edges. Arrange candy eggs on top.

*A tip for folding mixtures: Folding is not the same as stirring. It requires gentle and methodical mixing with a spatula. Holding the bowl on the left side, cut through the batter with the edge of the spatula from left to right, then lift upwards with the broad side of the spatula along the half of the bowl closest to you. Give the bowl 1/4 turn and repeat, doing this until the batter is slowly mixed. Doing it this way preserves the air bubbles in certain batters where the bubbles are necessary for lift.