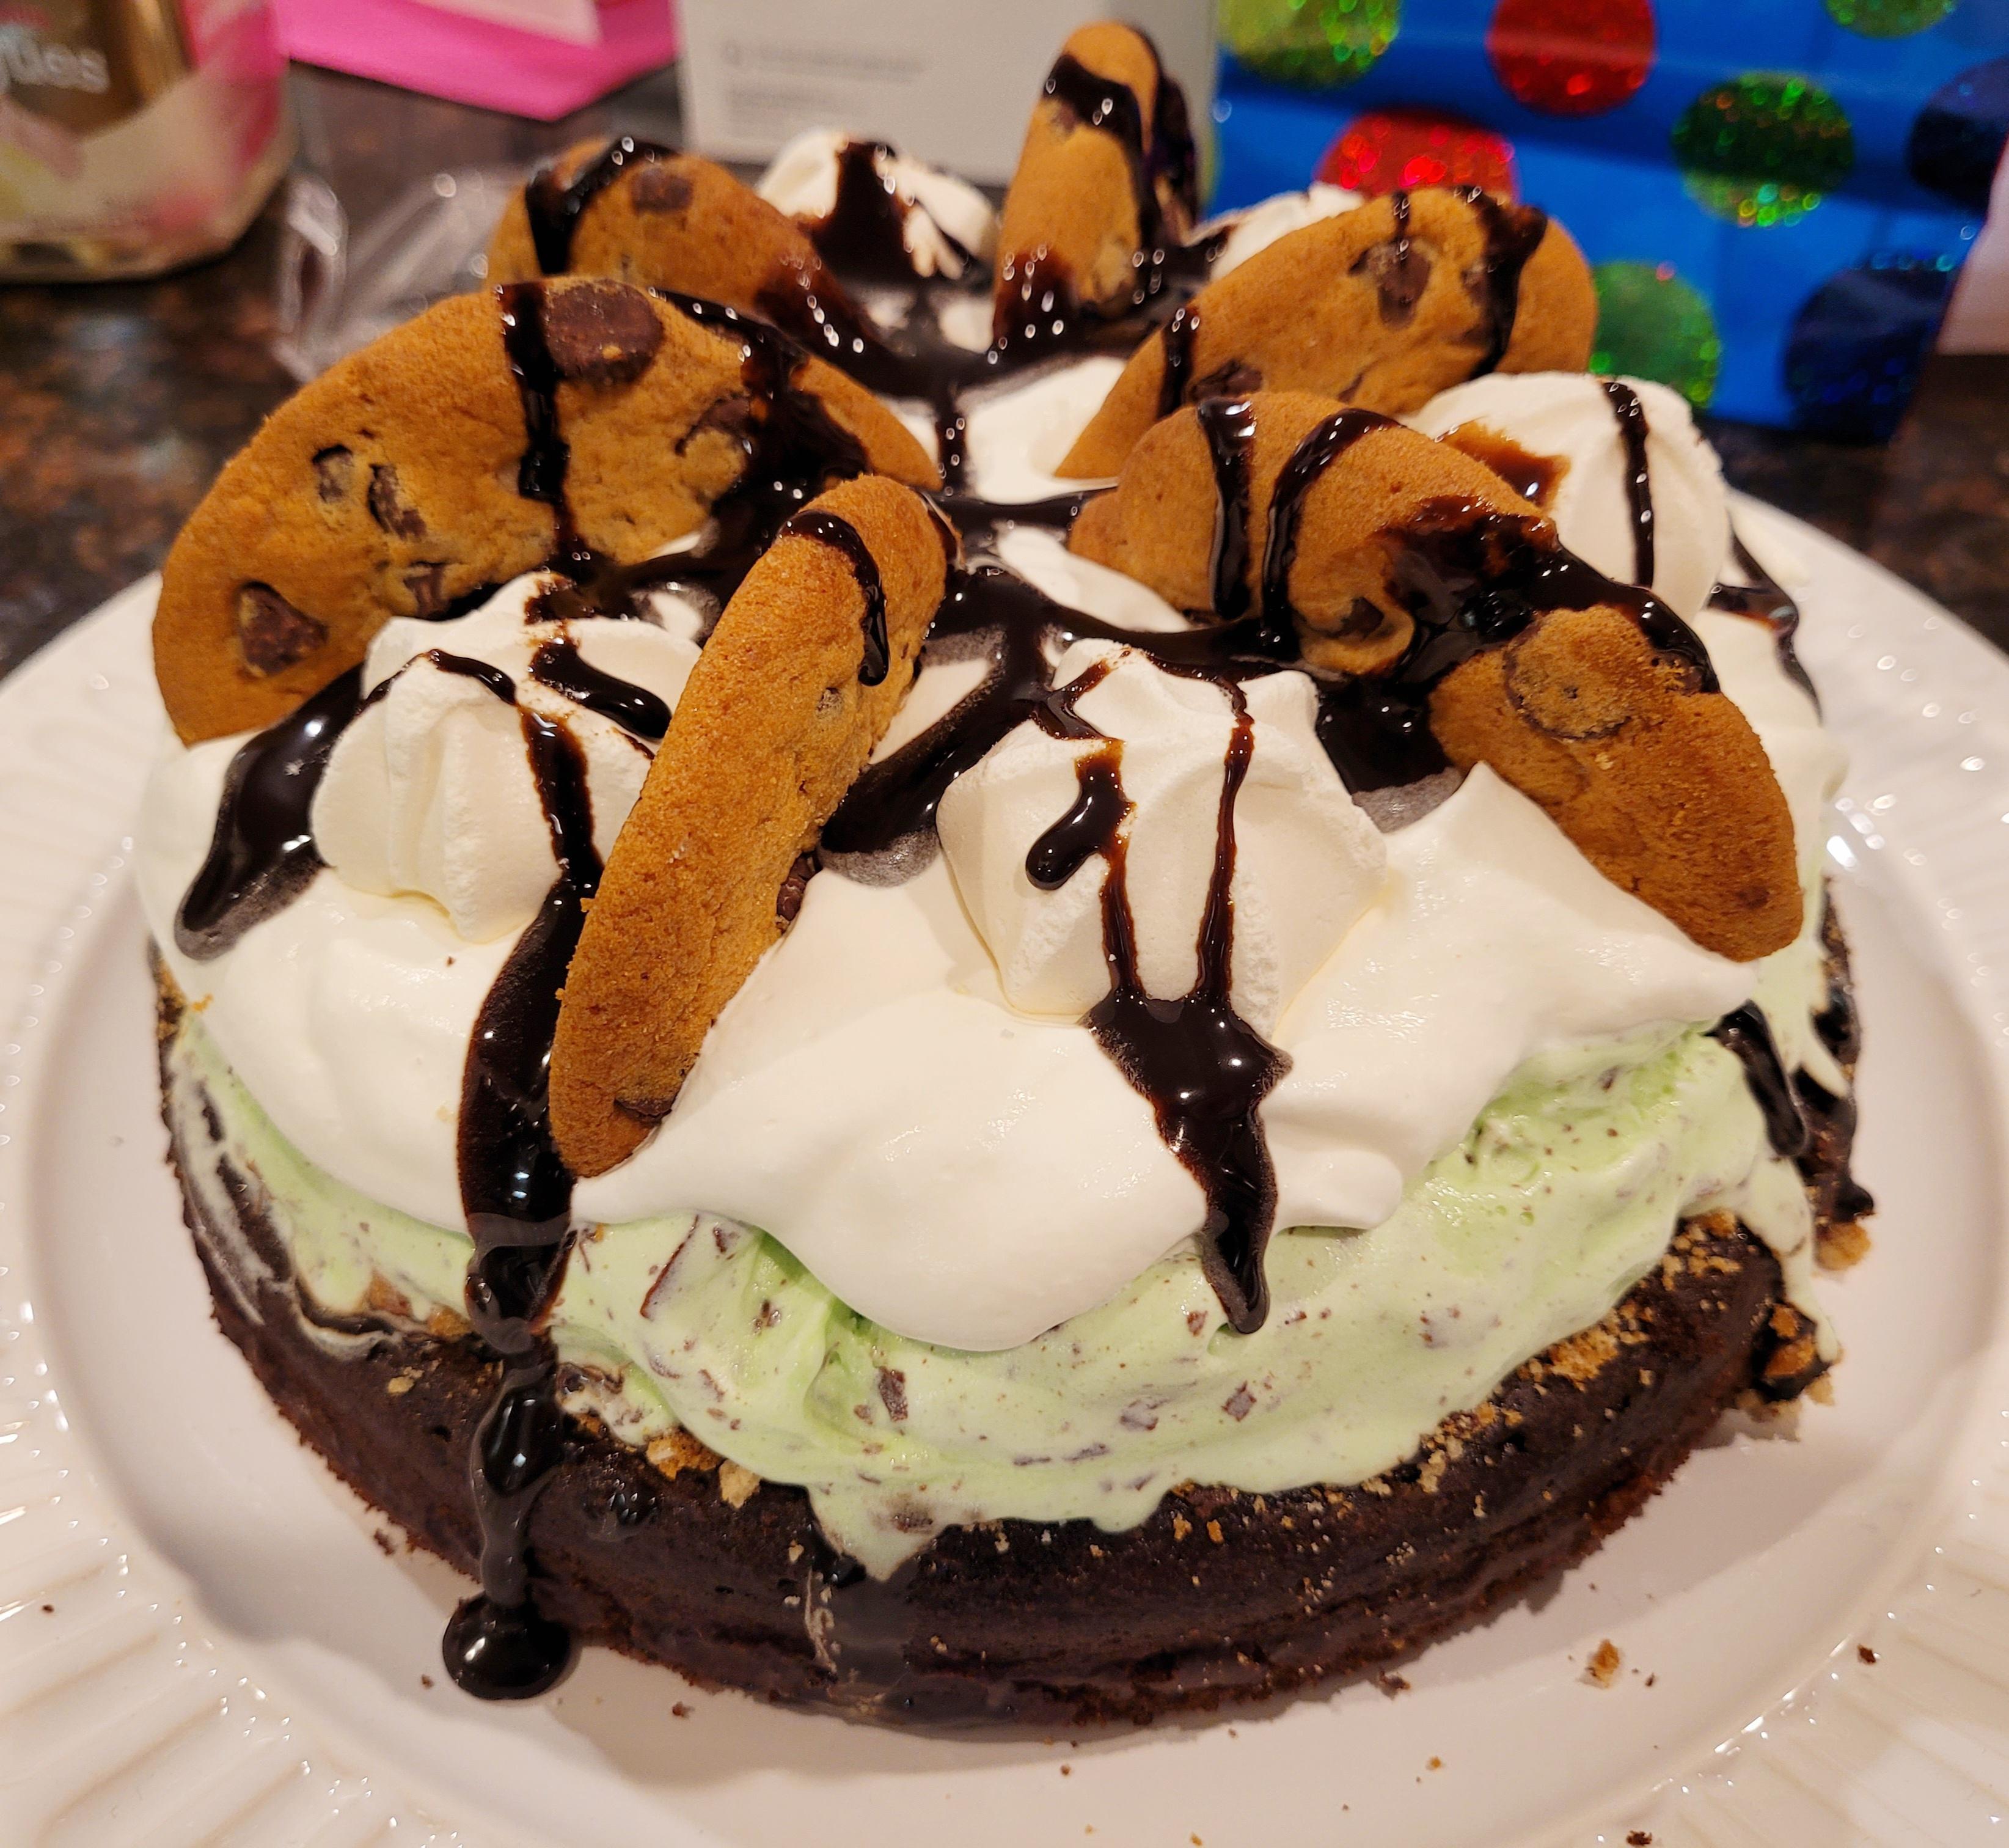
I had a lot of fun with this one, which was a birthday request from my daughter. She gave me free rein to make it however I wanted, as long as it had chocolate chip cookies and meringues on top, plus the ice cream of her choosing — in this case, mint chocolate chip.
I’d never made an ice cream cake before, and I didn’t know whether to make it all ice cream or include a layer or two of cake. There are so many variations out there! So I went with what I thought would be easiest — an easy-to-cut base layer of cake — and some ideas plucked from other dessert recipes, namely the cookie crumbs and chocolate drizzle.
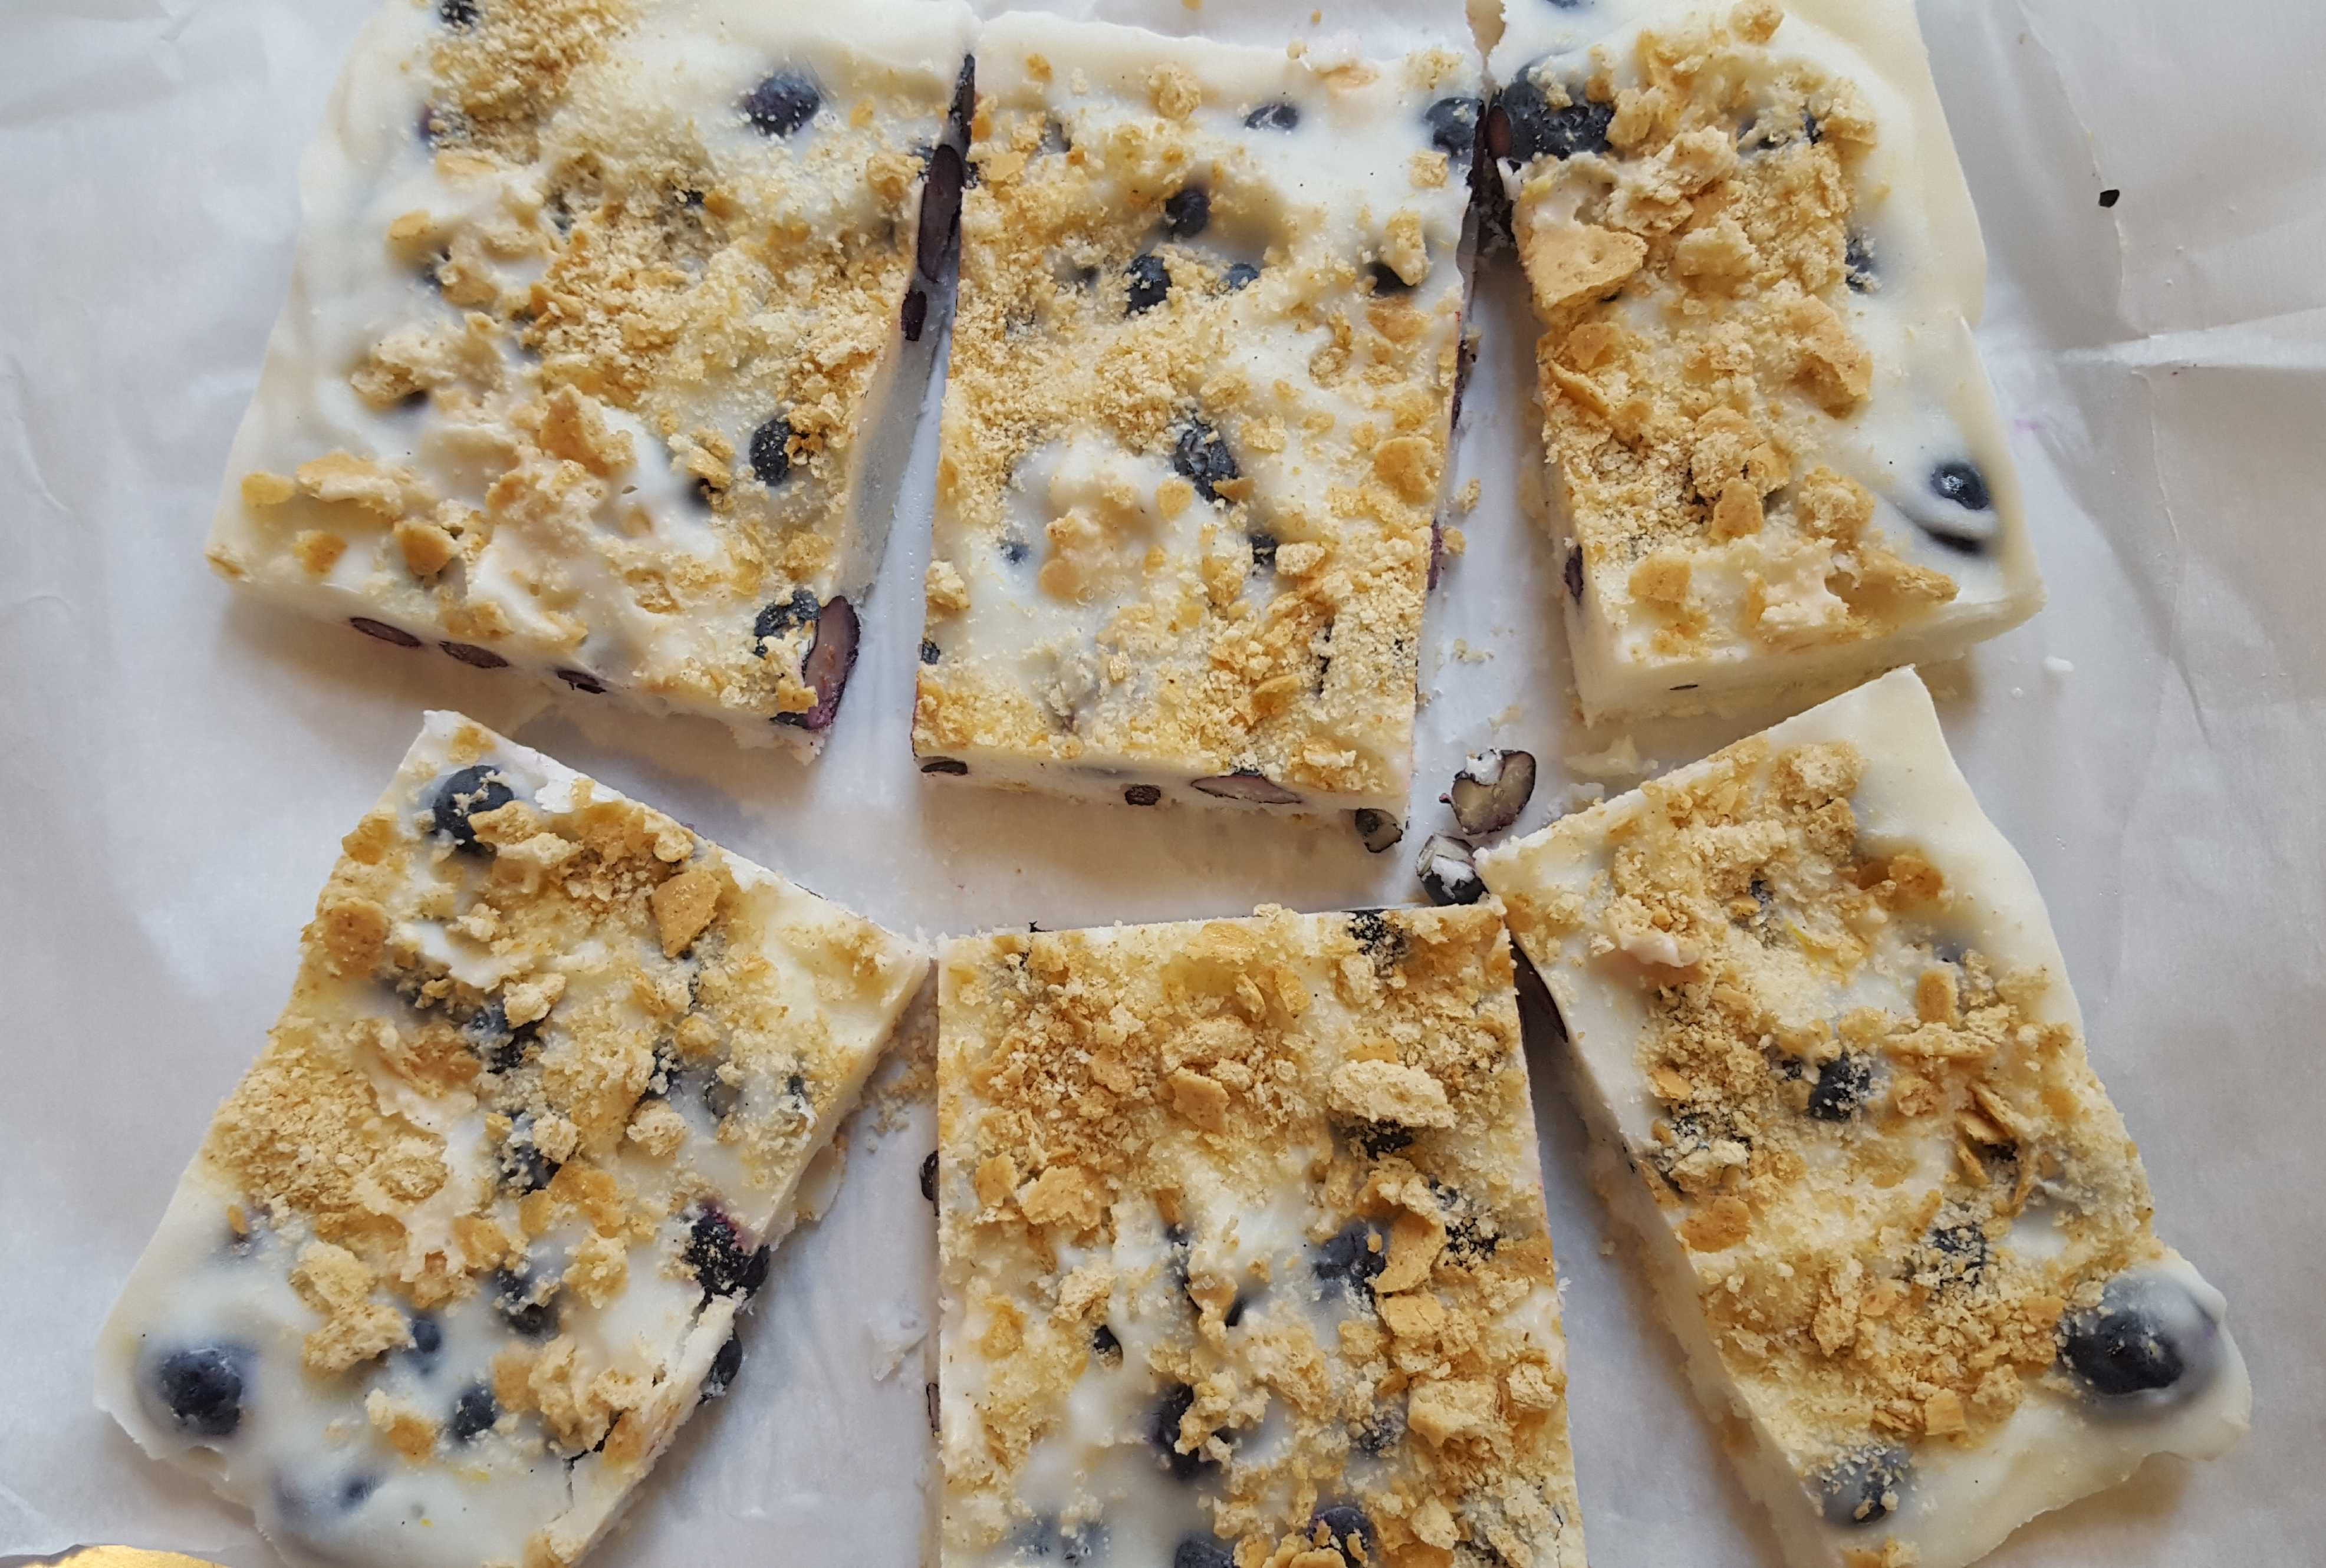
The result was really yummy and indulgent. I piled it high with whipped cream and cookies. Everyone seemed to enjoy it, and I’ll be making this again. This can be made in any flavors you like — any kind of cake, ice cream, and cookies — and any size and shape, based on the cake pan you use. These are the instructions for the cake I made.
One layer of chocolate cake (from a mix is fine)
12 chocolate chip cookies, half of them crumbled (the cookies I used were about 3.5 inches across)
Chocolate syrup (a purchased ice cream sundae fudge sauce is great; something like chocolate Nesquik would also be good)
2 quarts (half a gallon) of mint chocolate chip ice cream (you’ll probably use less, but this amount is just in case)
Homemade stiff whipped cream
Small meringue cookies
Take the ice cream out of the freezer to soften. In the meantime, lay the cake layer on a plate. Cover completely with cookie crumbs, then cover liberally with chocolate syrup.
When the ice cream is soft enough, cover the cake with it and make sure it’s even on top. Freeze it immediately.
Right before serving, make the whipped cream and cut the remaining cookies into triangles or semicircles, depending on the size you want. Take the cake from the freezer and cover in lots of whipped cream, topped with the cookie pieces and meringue cookies. Drizzle with chocolate syrup and serve.
(If you want perfectly straight sides to your cake, make it in a springform pan and don’t remove the ring before assembling the cake. Only remove it at the end. Use parchment paper around the cake to make sure sure the ring will release without damaging the sides.)