My son’s latest cooking success are these croutons, which are easy and quick to make. They will dress up any salad, especially one like a spinach salad that may need more crunch, and they are deliciously garlicky. Make them with any good bakery bread — the original recipe called for pumpernickel, but we used a loaf of brioche the last time and it was fantastic.
3 cups cubed or torn bread, such as pumpernickel, brioche, or Italian 2 Tbsp. butter 1 garlic clove, minced Kosher salt and black pepper to taste
Heat oven to 400F/200C degrees. Put butter and minced garlic in a microwave-safe dish and heat until melted. Spread bread pieces on a baking sheet, drizzle with butter mixture, and toss to coat. Bake 8-10 minutes or until nicely toasted. Remove from oven and sprinkle with salt and pepper.
This homemade pudding is so supremely chocolatey and rich that it’s like a luxury dessert, even though it’s easy enough to make for a quick weeknight dinner. It could be a great last-minute dessert if you suddenly need to prepare one.
I made it on a whim this weekend because I wanted to use up some milk — this recipe is a good way to do that, or to use up leftover egg yolks. Dress it up with cookies or whipped cream, and you may very well have some chocolate mustaches at the table because people will have gobbled it up so quickly!
They key here is constant stirring, patience, and using a sieve at the end to ensure the result is silky smooth.
The original recipe is from Martha Stewart.
Serves 4
2/3 cup sugar 1/4 cup cornstarch 1/4 tsp salt 1/3 cup unsweetened cocoa powder 2 1/2 cups milk 4 large egg yolks 2 Tbsp. unsalted butter, cut into pieces 1 tsp. vanilla extract
Place a fine-mesh sieve over a medium bowl; set aside. In a medium saucepan, off heat, whisk together sugar, cornstarch, salt, and cocoa powder. Very gradually (a few tablespoons at a time) whisk in milk, taking care to dissolve cornstarch. Whisk in egg yolks.
Whisking constantly, cook over medium heat until the first large bubble forms and sputters. Reduce heat to low, still whisking, and cook 1 minute. Note that when the pudding thickens, it will happen quickly.
Remove from heat and immediately pour through the sieve into the bowl. Stir butter and vanilla into the hot pudding.
Place plastic wrap directly on the surface of the pudding (to prevent skin from forming); chill at least 3 hours and up to 3 days. Before serving, whisk pudding until smooth and divide among four serving dishes.
I don’t remember the first time I had key lime pie, but I do remember exactly where I got this recipe: from an in-flight magazine at least 20 years ago. It was at the end of a two-page article in which author Ellen Kanner describes savoring real key lime pie as she was growing up. I taped the two pages together, punched holes on the side, and have kept it in my binder ever since.
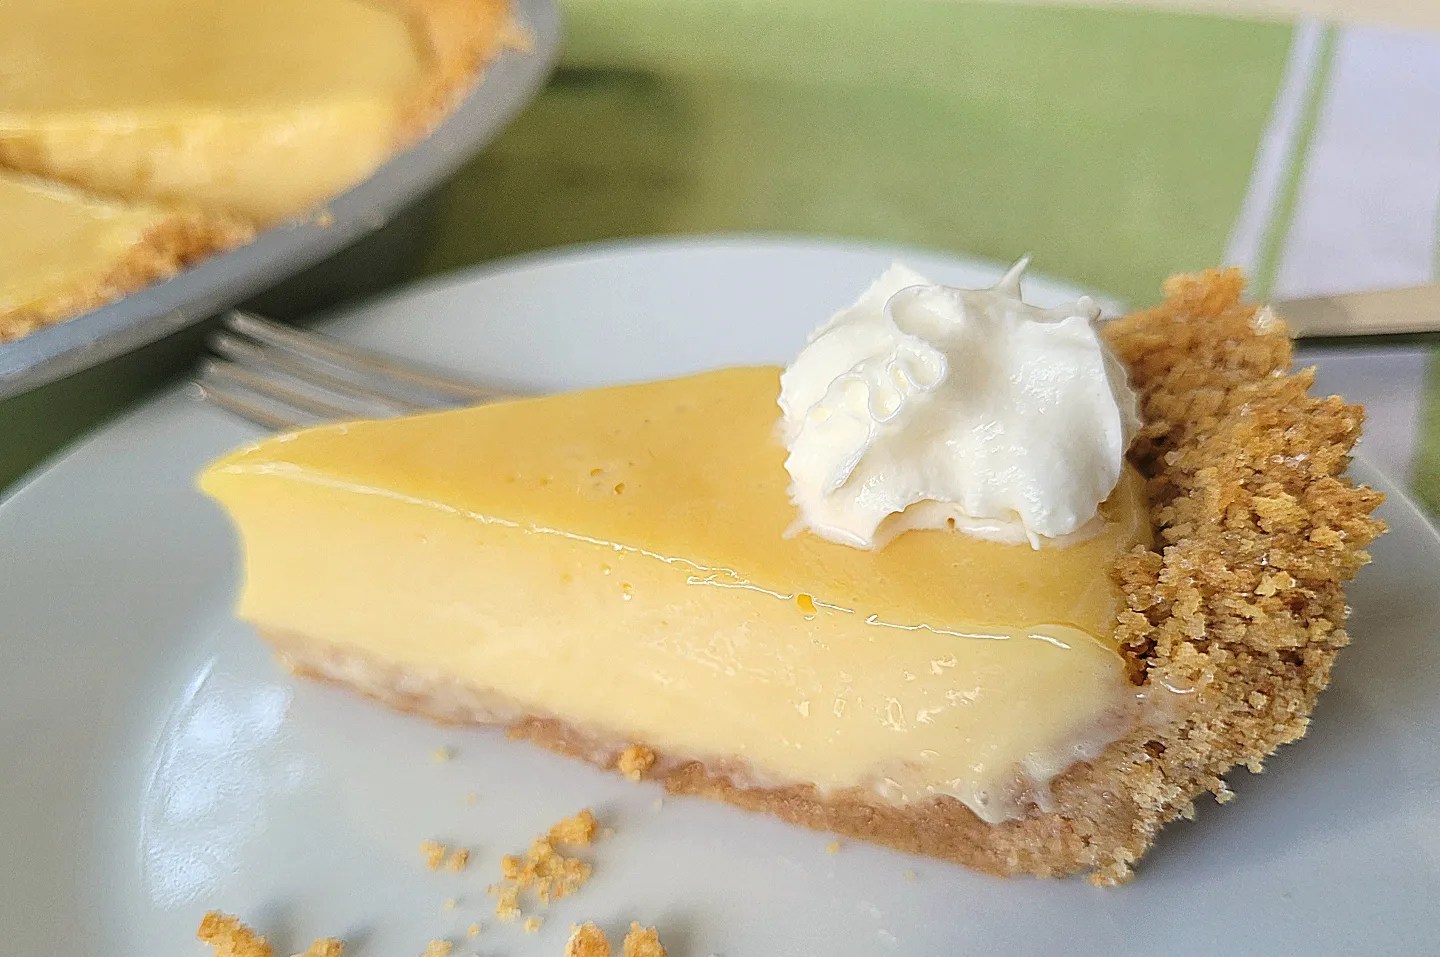
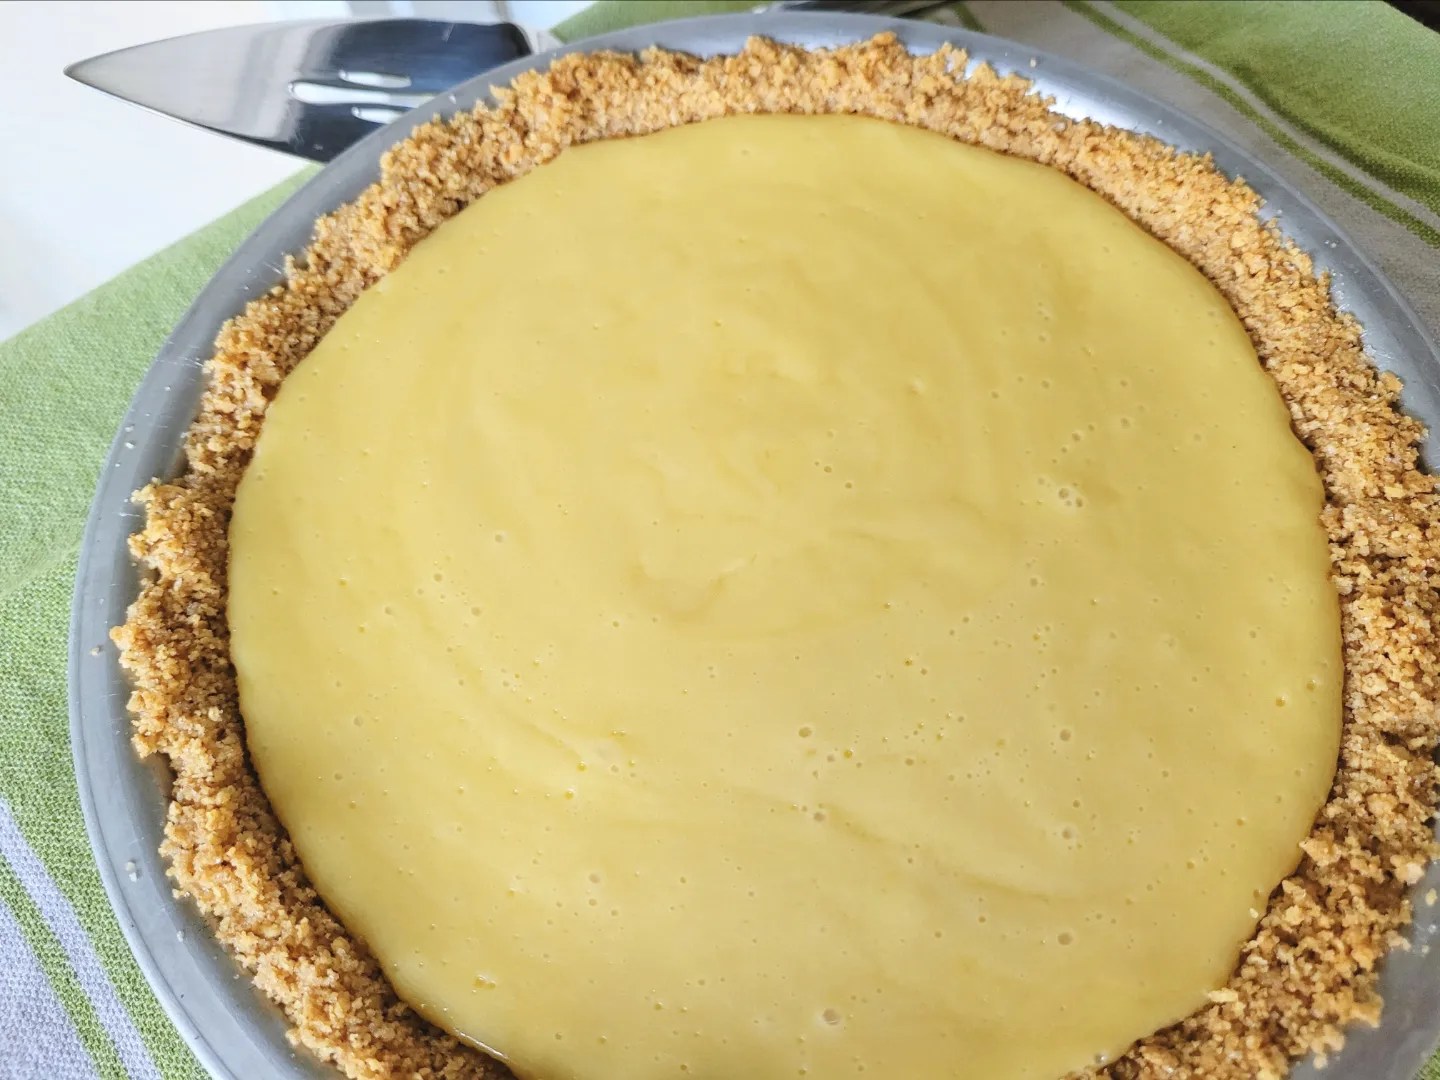
Kanner described how key lime pie should be “tangy and sweet, bracing and cool, the crunch of the crust a perfect foil for the creamy filling.” And, of course, it must be yellow. Key limes are light yellow when they’re ripe — not green — so their juice is, too.
Some people garnish their pies with strips of green rind from regular limes, which I find OK, but I’d rather just have just a dollop of whipped cream. There is way too much flavor going on with the pie for me to want much more than that. I just want to dig in!
I do recommend making the graham cracker crust yourself. Although you can certainly use a prepared one, a homemade crust looks and tastes better, and is a lot easier to make than you might think. In just a few steps, you’ll have a buttery, crisp, delicious pie crust. (If you do use a store-bought crust, make sure it’s for a 9-inch pie — some are 10 inches and that’s too large.)
The ingredients here are the same as those in the magazine article from so many years ago, though I recently tweaked it to make the pie hold up better.
Graham cracker crust:
1 1/2 cups graham cracker crumbs 1/4 cup sugar 1/3 cup butter, melted
Combine all ingredients in a large bowl and press firmly into a 9-inch pie plate. Bake at 350F degrees for 10 minutes. Remove and let cool while you prepare the filling. Keep oven on.
Key lime pie filling:
4 egg yolks 1 14-oz. can sweetened condensed milk 1/2 cup + 1 Tbsp. key lime juice
With an electric mixer (not by hand!), beat the egg yolks until lemony*. Add the condensed milk and continue beating for about 3 minutes. Add the key lime juice and beat until slightly thickened, about 2 minutes. Pour into prepared pie crust and bake at 350F for 10 minutes. Remove, let cool, and refrigerate at least 6 hours before serving.
*What does “lemony” mean when beating egg yolks? It refers to the way the color of the yolks changes slightly and becomes yellower when they’re beaten. Egg yolks — along with whole eggs and egg whites — hold air bubbles well; the air that’s incorporated when you beat yolks makes them lighter in color.
This is a perfect summer soup. It doesn’t take long to cook on the stove, it’s easy, and it’s adaptable. If you want to make it more of a scoopable dish with taco shells, use less water. More of a soup, add more broth. You can make it spicier, or add dried herbs like oregano.
We enjoyed this with lots (and lots!) of chips for scooping. The original recipe comes from Delish, but I altered the seasonings here.
Serves 4-6
1 Tbsp. canola oil 1 large onion, chopped 2 lb. ground turkey 1 15-oz. can pinto beans, drained and rinsed 1 15-oz. can corn, drained 1 15-oz. can chopped fire-roasted tomatoes, with liquid 1-2 Tbsp. (1-2 packets) taco seasoning 1 1/2 cups water 1 Tbsp. chicken bouillon powder Freshly chopped cilantro, for garnish
In a large pot over medium heat, heat oil. Add onion and cook until soft and translucent, then add ground turkey and cook until no longer pink.
Add beans, corn, fire-roasted tomatoes, taco seasoning, water, and bouillon powder. Bring to a simmer and cook until all ingredients are heated through. Add more water (or even chicken broth!) if desired to make it more of a soup.
Taste for seasonings and add salt if needed; serve in bowls with chopped cilantro sprinkled on top.
To use fresh peaches for a recipe, whether fruit salad or a dessert like peach cobbler, you’ll probably want to remove the skin first. You could use a vegetable peeler, but this is just as easy and gives you perfect results!
Score an X on the bottom of each peach. (This will help you slide off the skin later.)
Drop them into boiling water and cook for 30 seconds.
Remove with slotted spoon and put in a bowl of ice water to stop the cooking.
Peel off the skin.
It’s best to do them individually so you can cook each one for exactly 30 seconds.
Homemade vanilla pudding is as creamy and delicious as ice cream, and worth the minimal extra effort compared to the instant kind. It’s extra special to have it as a dessert because you know you’ve made it yourself.
Serve this with fruit, cookies, fun sprinkles on top — or all three! This is adapted from a Better Homes & Gardens recipe.
Mix sugar and cornstarch in a pot. Add half-and-half, then stir over medium heat until thickened and bubbly. Cook and stir 2 minutes more. Remove from heat, stir 1 cup of the mixture into the egg yolks, then add that back to the pot with a whisk. Bring to a gentle boil, reduce heat, and cook and stir 2 minutes more.
Remove from heat and stir in the rest of the ingredients. Pour through a sieve into a bowl to remove any clumps, lay plastic wrap directly onto the surface, and chill several hours.
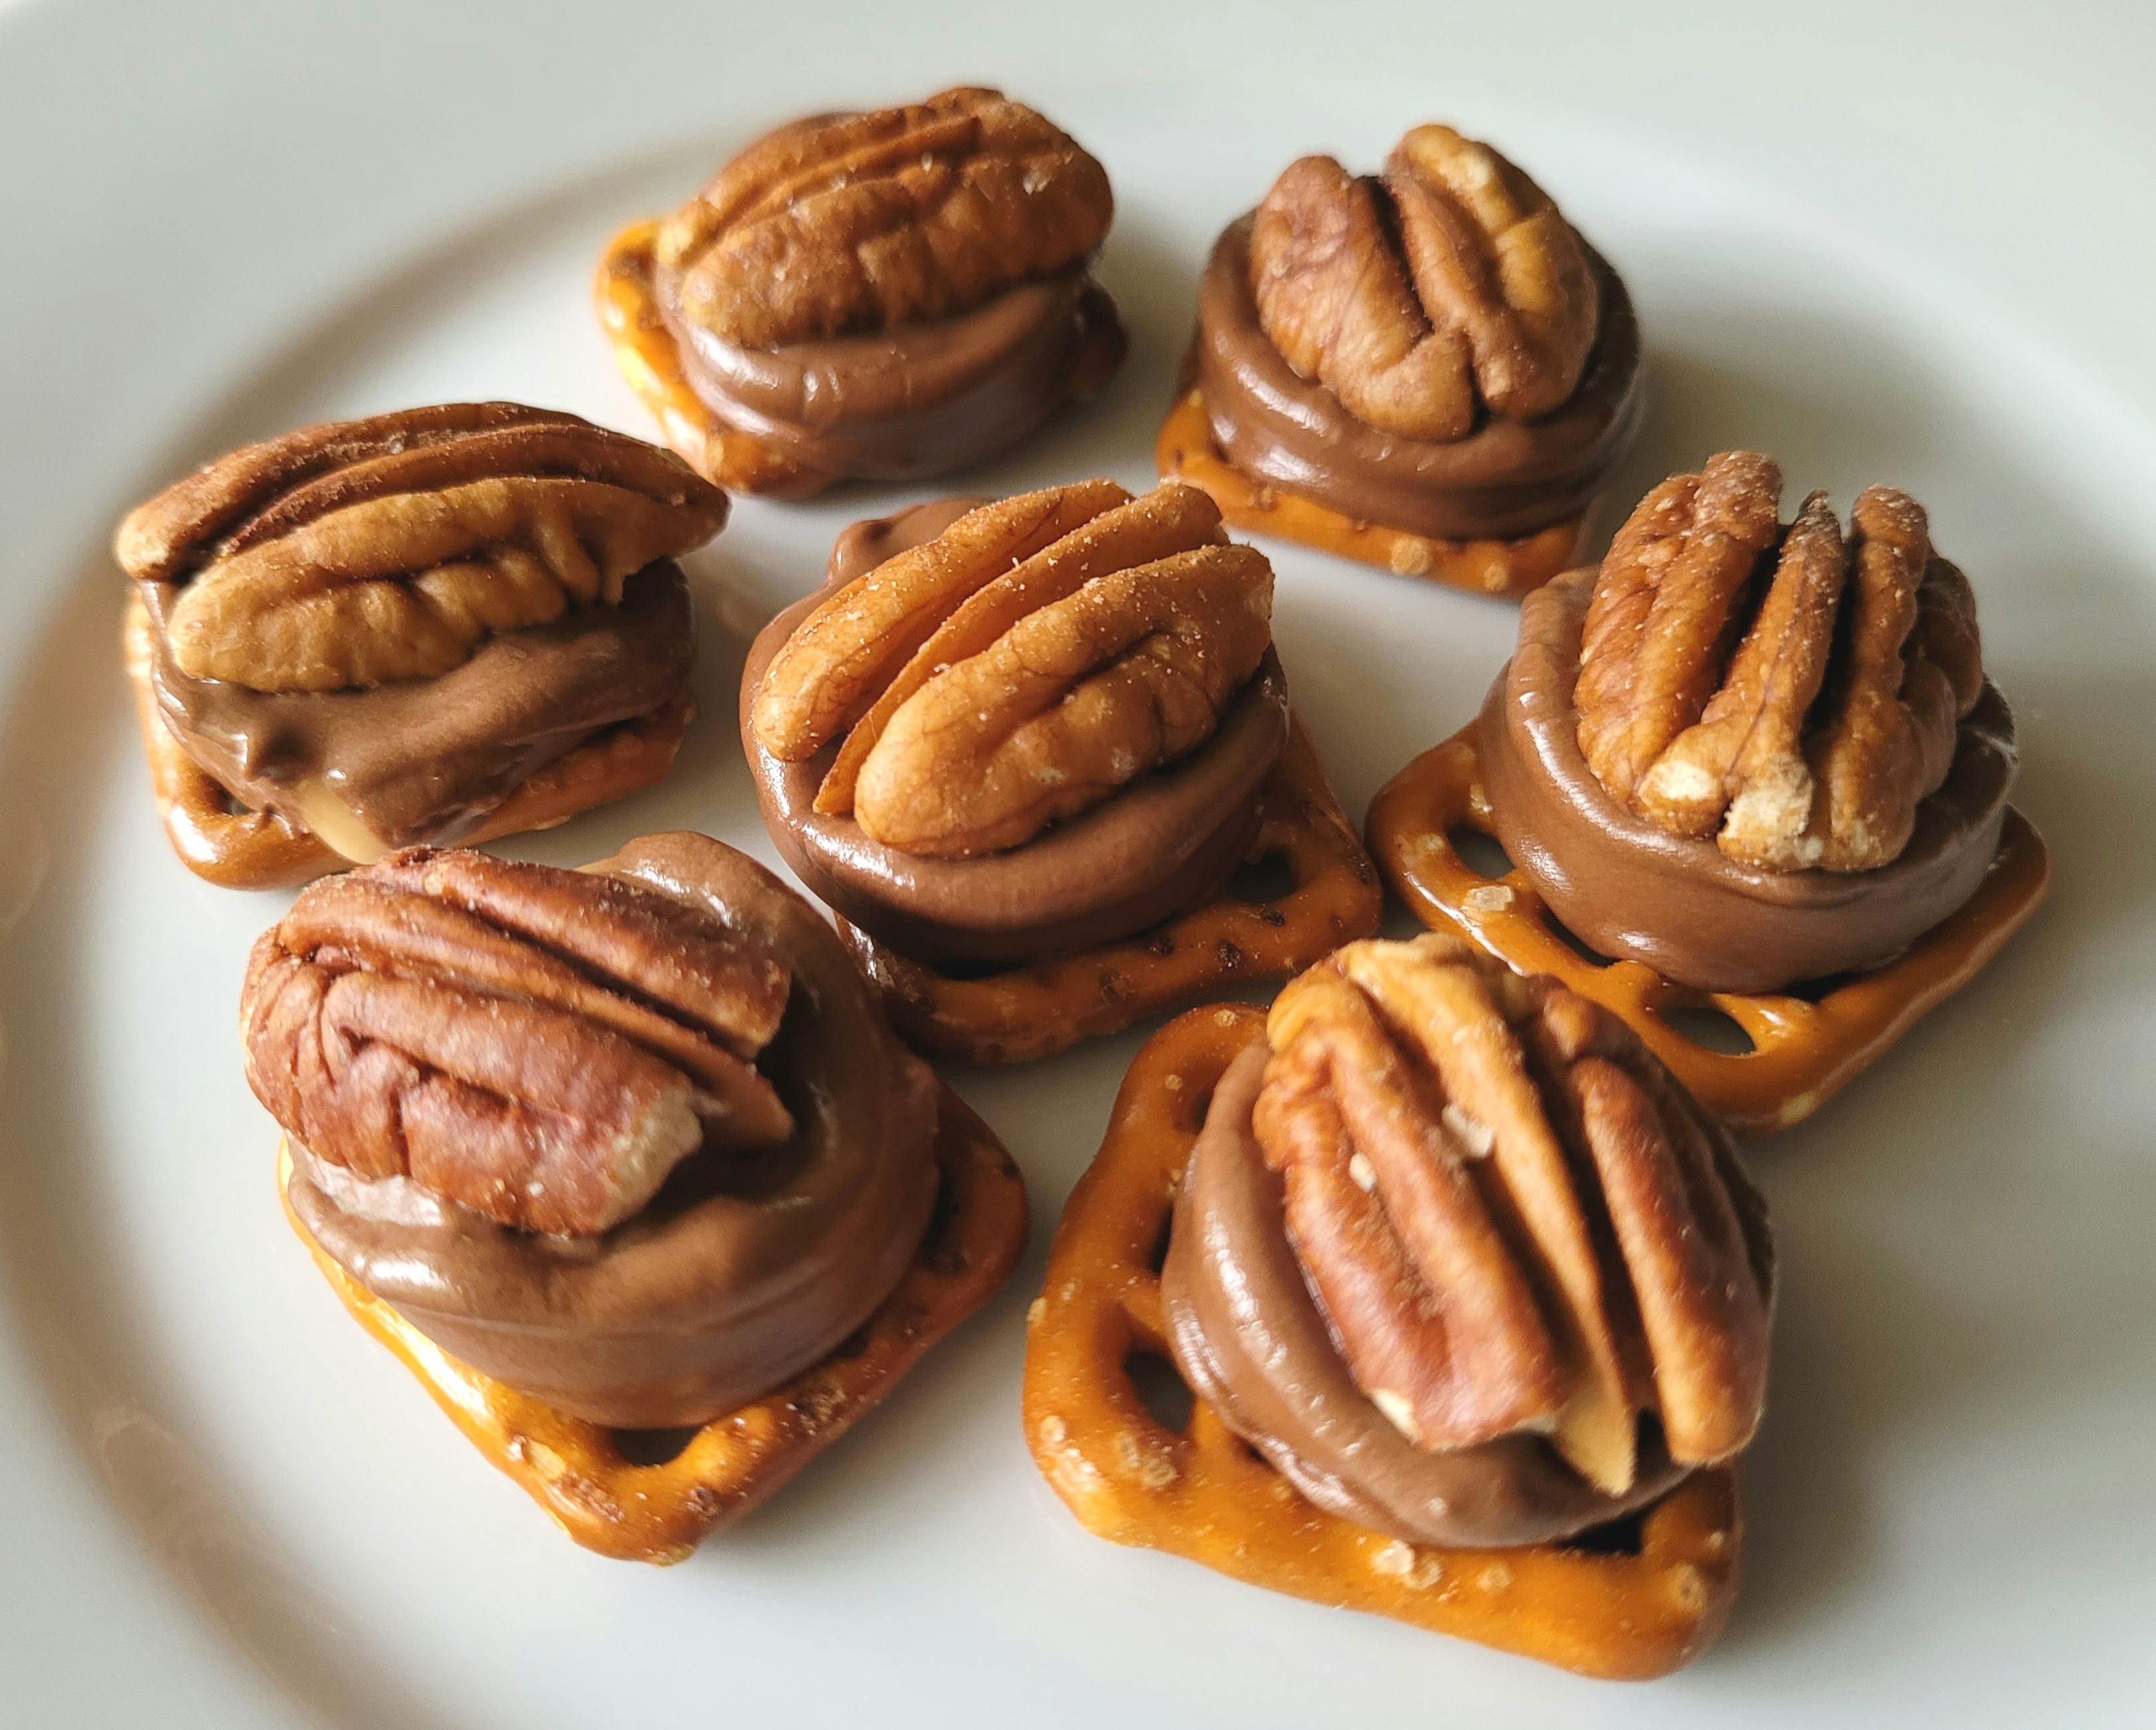
These are delicious dessert nibbles that are always popular at parties, because they’re easy to pick up and just so scrumptious. You can offer a whole tray of them and they’ll disappear quickly. You need only pretzels (the small square ones), Rolos, and pecan halves, and they take only 2 minutes in the oven.
I first had these at a holiday party years ago and they were practically addictive. The recipe is now on the back of the bag of Rolos, so it’s not exactly a secret — but it lives in my cookbook, and these are so yummy, that I wanted to share it.
Heat oven to 250F/120C degrees.
Place pretzel squares on baking sheet lined with parchment paper and put an unwrapped Rolo on each one. Put in the heated oven for 2 minutes, then remove and put a pecan half on top. Press down slightly and let cool before serving.
Nobody at the dinner table noticed I made my own pizza sauce tonight, but that’s because they thought it was just like the kind we usually buy. And I actually count that as a win.
The recipe is easy, but for me, these are the best reasons to make this sauce:
It’s thrifty — the ingredients were about $1.
It’s healthy — two main ingredients, plus seasonings, and no sugar.
It just feels good to make it from scratch!
It simmers on the stove while you get your pizza ingredients ready. If you like a thick sauce, cook it for longer. It makes enough for two 12-inch pizzas.
1 15-oz. can tomato sauce 2 Tbsp. tomato paste A couple of teaspoons of dried oregano Garlic powder to taste* Salt, if you think it needs some
In a pot, mix the tomato sauce and tomato paste and bring to a simmer. Add the seasonings, cover, and continue at a low simmer until it’s at the desired thickness.
*Tip for the garlic powder: If you want extra flavor, leave the garlic powder out of the sauce, and sprinkle it over the sauce after you’ve spread it on the pizza.
This ice cream has the deliciously distinct taste of apple pie. It’s made with applesauce, which gives it a fruity taste, but it’s also creamy. You make it with chopped pecan pralines or candied pecans, though you could also substitute plain ones.
The original recipe came from a UK newspaper years ago, hence the metric measurements that I have converted, but I have altered it since.
Make sure your ice cream maker’s freezer bowl is frozen. (I always need a reminder for this step!)
In a saucepan, combine cream, vanilla, and cinnamon and bring to a boil.
Whisk the egg yolks and sugar in a bowl. Pour in the cream and mix until blended, then pour the mixture into the saucepan and cook gently, stirring continuously, until the mixture coats the back of a spoon. Remove from the heat and strain through a sieve. Let cool.
Stir in the sour cream and applesauce and churn. Add the nuts to the ice cream maker toward the end of mixing, or layer them in when you pour the ice cream into a freezer container.
These are so much fun to make and decorate, and the smell and taste of the spices is wonderful, especially during the holidays. The recipe doesn’t take much skill, either — just some patience while the dough chills so the cookies can better hold their shape. And after the cookies are baked comes the next fun part — decorating! My favorite royal icing recipe is below.
I made these for Christmas this year and gave some as presents. Of course, these can be made in any shape you like — try huge snowflakes, circles as Christmas ornaments, or triangles for Christmas trees (if you don’t have a tree cookie cutter). I had leftover dough, so I improvised the shape of a house with a paring knife.
Yield: A whole lot of cookies (depends on the size of your cookie cutters!)
6 cups sifted all-purpose (plain) flour 1 tsp. baking soda 1/2 tsp. baking powder 1 cup unsalted butter 1 cup packed dark brown sugar 4 tsp. ground ginger 4 tsp. ground cinnamon 1 1/2 tsp. ground cloves 1 tsp. white pepper 1 1/2 tsp. salt 2 large eggs 1 cup molasses (unsulfured) Royal icing (see recipe below)
In a large bowl, sift together flour, baking soda, and baking powder. Set aside.
In an electric mixer fitted with the paddle attachment, cream butter and sugar until fluffy. Mix in spices and salt, then eggs and molasses. Add flour mixture and combine on low speed.
Divide dough into thirds and wrap in plastic. Chill for at least 1 hour.
After the dough has chilled, on a floured surface, roll out one of the dough portions until 1/8 inch thick. Cut into desired shapes and transfer to ungreased cookie sheets. Refrigerate until firm, about 15 minutes. Meanwhile, heat oven to 350F/175C degrees.
Bake the cookies until crisp but not darkened, 8-10 minutes. Transfer them to a baking rack to cool and repeat the process with the rest of the dough. When cookies are cool, decorate as desired.
I used flat sprinkles for the buttons. Mini M&Ms would be nice, too.
ROYAL ICING
2 cups confectioner’s (icing) sugar 1 Tbsp. unsalted butter, melted 2 tsp. light corn syrup 2 1/2 Tbsp. hot water, more if needed Piping bag with narrow tip, or plastic bag
Mix all ingredients in a bowl with electric hand mixer on medium speed until well blended.
The icing should not be watery, so be careful when the water and only add a DROP or two until it’s the right consistency (a drop of water goes a long way when making icing). You want it to be stiff enough to go through a piping bag. Use a narrow tip on the piping bag or snip off a very small corner of a plastic bag. Scoop the icing inside the bag and enjoy the decorating!
(Icing recipe from a 1998 Christmas cookie recipe booklet from Williams-Sonoma.)